Last updated September 15, 2025
This add-on is operated by Found AS
Elasticsearch is an open source search, analytics, and AI platform
Elasticsearch is an open source, distributed, REST-ful search engine. In addition to being a great search engine, it is also great for analytics, storing logs, etc. — a general “NoSQL”-store.
Elastic Cloud provides dedicated Elasticsearch clusters with reserved memory and storage, ensuring predictable performance. Replication and automatic failover is provided for production and mission critical environments, protecting your cluster against unplanned downtime. Your cluster is managed by the engineers that build Elasticsearch itself.
Documentation that is not specific to Heroku is available at Elastic Cloud’s documentation page
Installing the add-on
To use Elastic Cloud on Heroku, install the add-on using the heroku command:
A list of all plans available can be found here.
$ heroku addons:create foundelasticsearch
Once Elastic Cloud has been added, a FOUNDELASTICSEARCH_URL setting will be available in the app configuration and will contain the canonical URL used to access the newly provisioned cluster. This can be confirmed using the heroku config command:
$ heroku config | grep FOUNDELASTICSEARCH_URL
FOUNDELASTICSEARCH_URL => https://<cluster_id>.<region>.aws.found.io
After installing Elastic Cloud, the application should be configured to fully integrate with the add-on.
Specifying version and plugins
If you want a specific version of Elasticsearch, you can use the --elasticsearch-version-option,
e.g. --elasticsearch-version 2.2.1.
We also provide many of the plugins that are available for Elasticsearch. Use --plugins to specify a comma-separated
list of plugins you want installed. For example, --plugins analysis-phonetic,analysis-kuromoji.
Complete example:
$ heroku addons:create foundelasticsearch --elasticsearch-version 2.2.1 --plugins analysis-phonetic
After the addon has been added, version upgrades and plugin changes can be done through the add-on dashboard.
If you need to use custom plugins, you can upload and select plugins in the add-on dashboard.
Supported versions and plugins
We support the two most recent major versions at all times.
New versions are made available for provisioning soon after they’re released. It is your choice when (not) to upgrade. We recommend keeping up with new versions, however.
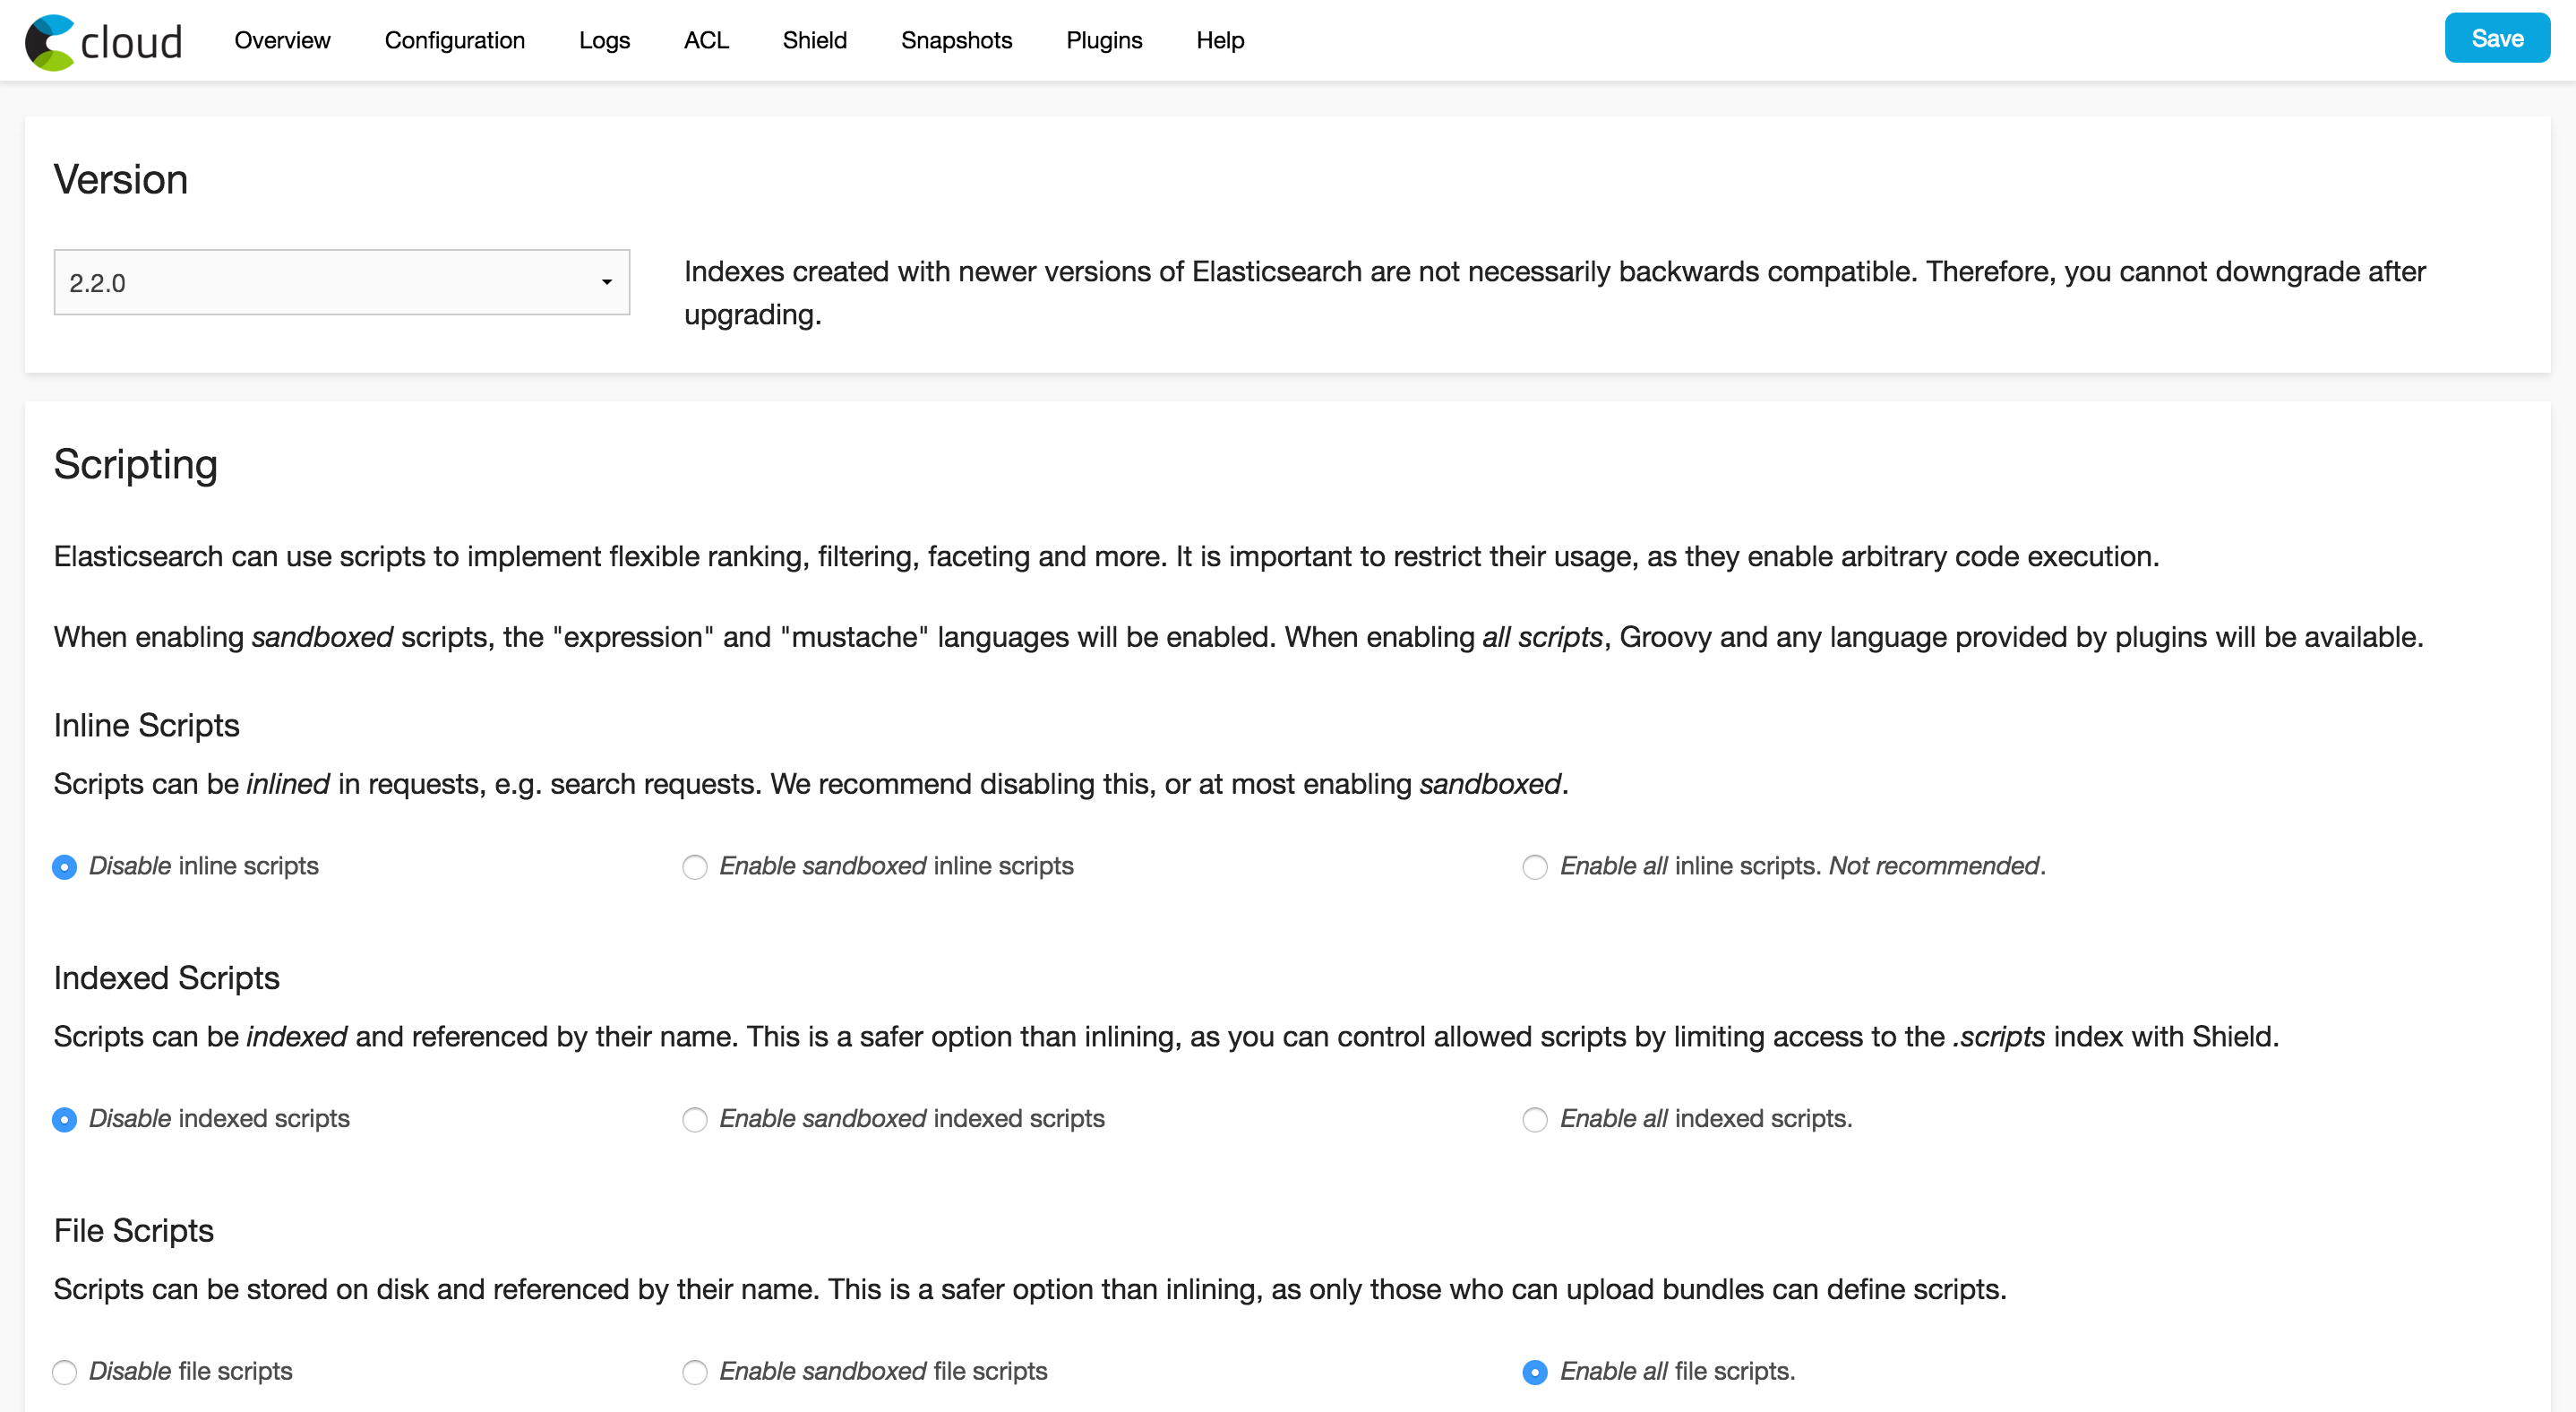
Accessing the add-on dashboard
The Elastic Cloud dashboard allows you to manage the cluster, like upgrading versions, configuring Shield, and viewing the logs emitted from the nodes.
The dashboard can be accessed via the CLI:
$ heroku addons:open foundelasticsearch
Opening foundelasticsearch for <your_app_name>
or by visiting the Heroku Dashboard and selecting Elastic Cloud from the Add-ons menu.
Access control
We strongly recommend that you configure access control with the X-Pack security features (called Shield in versions before 5.0) for your cluster.
With the default configuration, since not all Elasticsearch versions before 5.0 require authentication, anyone knowing the cluster ID has full access to your cluster.
We highly recommend that you become familiar with the X-Pack security features (called Shield in versions before 5.0) and configure role-based access control. To learn more, see Securing your Cluster.
Rotating Credentials
To rotate credentials for your cluster, first log in to the Elastic Cloud addon dashboard.
Then click on “Security” or “Shield” in the top menu (depending on your cluster’s version) to reset your password and/or change users.
Using the add-on
In this section, we will briefly go through the indexing, updating, retrieving, searching and deleting documents in an Elasticsearch cluster. We will use curl as our client from the command line.
Indexing
To index documents, simply POST documents to Elasticsearch:
$ curl https://<cluster_id>.<region>.aws.found.io/my_index/my_type -XPOST -d '{
    "title": "One", "tags": ["ruby"]
}'
{"ok":true,"_index":"my_index","_type":"my_type","_id":"HAJppjLLTROm8i35IJEQWQ","_version":1}
In the above example, the index my_index is created dynamically when the first document is inserted into it.
All documents in Elasticsearch have a type and an id, which is echoed as _type and _id in the JSON responses.
If no id is specified during indexing, a random id is generated.
Bulk indexing
To achieve the best possible performance, using the Bulk API is highly recommended. So let us index a couple more documents using the bulk API:
$ curl https://<cluster_id>.<region>.aws.found.io/my_index/my_type/_bulk -XPOST -d '
{"index": {}}
{"title": "Two", "tags": ["ruby", "python"] }
{"index": {}}
{"title": "Three", "tags": ["java"] }
{"index": {}}
{"title": "Four", "tags": ["ruby", "php"] }
'
Elasticsearch should then give us output similar to this:
{"took":10, "items": [
    {"create":{"_index":"my_index","_type":"my_type","_id":"v7ufoXxSSuOTckcyL7hg4Q","_version":1,"ok":true}},
    {"create":{"_index":"my_index","_type":"my_type","_id":"wOzT31EnTPiOw1ICTGX-qA","_version":1,"ok":true}},
    {"create":{"_index":"my_index","_type":"my_type","_id":"_b-kbI1MREmi9SeixFNEVw","_version":1,"ok":true}}
]}
Updating
To update an existing document in Elasticsearch, simply POST
the updated document to http://<cluster_id>.<region>.aws.found.io/my_index/my_type/<id>, where <id> is the id of the document. For example,
to update the last document indexed above:
$ curl https://<cluster_id>.<region>.aws.found.io/my_index/my_type/_b-kbI1MREmi9SeixFNEVw -XPOST -d '{
    "title": "Four updated", "tags": ["ruby", "php"]
}'
{"ok":true,"_index":"my_index","_type":"my_type","_id":"_b-kbI1MREmi9SeixFNEVw","_version":2}
As you can see, the document is updated and the _version counter is automatically incremented.
Retrieving documents
We can take a look at the data we indexed by simply issuing a GET request to the document:
$ curl https://<cluster_id>.<region>.aws.found.io/my_index/my_type/_b-kbI1MREmi9SeixFNEVw
{"exists":true,"_index":"my_index","_type":"my_type","_id":"_b-kbI1MREmi9SeixFNEVw","_version":2,"_source":{"title": "Four updated", "tags": ["ruby", "php"]}}
If Elasticsearch find the document, it returns a HTTP status code of 200 OK and sets exists: true in the result. Otherwise, a HTTP status code of 404 Not Found is used and the result will contain exists: false.
Searching
Search requests may be sent to the following Elasticsearch endpoints:
https://<cluster_id>.<region>.aws.found.io/_search
https://<cluster_id>.<region>.aws.found.io/{index_name}/_search
https://<cluster_id>.<region>.aws.found.io/{index_name}/{type_name}/_search
We can search using a HTTP GET or HTTP POST requests. To search using a HTTP GET request, we use URI parameters to specify our query:
$ curl https://<cluster_id>.<region>.aws.found.io/my_index/my_type/_search?q=title:T*
A full explanation of allowed parameters is found in the Elasticsearch URI Request documentation
In order to perform more complicated queries, we have to use HTTP POST requests to search. In the next example, we create a facet on the tags field:
Note that we added ?pretty=true to the request, which makes Elasticsearch return a more human readable JSON response. Due to performance reasons, this is not recommended in production.
$ curl https://<cluster_id>.<region>.aws.found.io/my_index/my_type/_search?pretty=true -XPOST -d '{
    "query": {
        "query_string": {"query": "*"}
    },
    "facets": {
        "tags": {
            "terms": {"field": "tags"}
        }
    }
}'
A full explanation of how the request body is structured is found in the Elasticsearch Request Body documentation
To execute multiple queries in one request, use the Multi Search API
Deleting
Documents are deleted from Elasticsearch by sending HTTP DELETE requests.
Delete a single document:
$ curl https://<cluster_id>.<region>.aws.found.io/{index}/{type}/{id} -XDELETEDelete all documents of a given type:
$ curl https://<cluster_id>.<region>.aws.found.io/{index}/{type} -XDELETEDelete a whole index:
$ curl https://<cluster_id>.<region>.aws.found.io/{index} -XDELETE
Elasticsearch clients
All Elasticsearch clients using the REST API can be used with this add-on. Also, the Java Transport client can be used. We do not support the Node client.
Elasticsearch comes with a REST API, which can be used directly via any HTTP client.
Many higher-level clients have been built on top of this API in various programming languages. A large list of Elasticsearch clients and integrations are found here
Removing the add-on
Elastic Cloud can be removed via the CLI.
Warning: This will destroy all associated data and cannot be undone!
$ heroku addons:destroy foundelasticsearch
-----> Removing foundelasticsearch from <your_app_name>... done, vX (free)
Migrating between plans
Application owners should carefully manage the migration timing to ensure proper application function during the migration process.
Available memory is a very important factor when sizing your Elasticsearch cluster, and replicating across multiple data centers is important for the resilience of production applications. Our plans are differentiated on the available reserved memory and disk quota, as well as on the number of data centers.
Use the heroku addons:upgrade command to migrate to a new plan:
$ heroku addons:upgrade foundelasticsearch:newplan
-----> Upgrading foundelasticsearch:newplan to <your_app_name__... done, vX ($YY/mo)
       Your plan has been updated to: foundelasticsearch:newplan
Upgrading to a new plan is done by extending the existing cluster with new nodes and migrating data from the old nodes to the new nodes. When the migration is finished, the old nodes are shut down and removed from the cluster. You can search and index while this happens.
Support
Please see our support page and reach out if you have any problems. Quote the first six characters of your cluster’s ID in your post.
There are some actions that always require our help:
- For Heroku users, the option to reboot Elasticsearch clusters is not available in the UI. Please post in the support forum if you need us to reboot a cluster for you.
Additional resources
Elastic Cloud exposes the majority of the Elasticsearch REST API, which means that most valid Elasticsearch API requests will work with your provisioned instance. Please refer to the Elasticsearch guide for more in-depth explanations of all the possibilities.