Last updated March 05, 2025
The Heroku extension for Visual Studio Code (VS Code) brings all your essential developer tools into VS Code. With the extension, you can create and manage Heroku apps, make commits, and deploy code changes directly from VS Code. This extension also enables you to run Heroku CLI commands in the VS Code terminal, creating an all-in-one experience for developers.
Install the Heroku VS Code Extension
To get started, install the Heroku VS Code extension.
Prerequisites for Installation
- VS Code 1.60.0 or later
- Node.js 22.x or later
- npm 10.x or later
- Heroku CLI installed:
- For CodeBuilder environments, run:
npm install -g heroku - To verify installation, run:
heroku --version
- For CodeBuilder environments, run:
Install the Extension
- Launch VS Code.
- Open the Heroku extension in VS Code Marketplace, and click
Install. - Click
Open Visual Studio Codein the pop-up window to redirect to VS Code. - Click
Install.
Verify Installation
After installation, you can view the Heroku extension in VS Code:
- The Heroku icon is now available in the Activity Bar.
- Open the
Extensionspanel (Ctrl+Shift+X or Cmd+Shift+X) to confirm:- The extension appears in your installed list.
- The version number matches the most current release available in the VS Code Marketplace.
Test Installation
Test the extension after VS Code updates to make sure it works as expected:
- Open the
Command Palette(Ctrl+Shift+P or Cmd+Shift+P). - Type
Heroku. - If the installation was successful, several Heroku commands are available.
Troubleshooting Installation
If you run into any issues during installation:
- Check your VS Code version.
- Verify your Node.js and npm versions.
- Confirm Heroku CLI is installed and working.
- Document any error messages that appear and if issues persist, contact Heroku support.
Uninstall the Extension
To remove the extension:
- Open the
Extensionspanel in VS Code. - Find and select the Heroku extension.
- Select
Uninstall. - Restart VS Code.
To clean up extension data, use the following:
For Windows:
rm -rf %USERPROFILE%\.vscode\extensions\heroku-vscode*
For macOS/Linux:
rm -rf ~/.vscode/extensions/heroku-vscode*
Sign in to Your Heroku Account
Signing in connects your Heroku account to VS Code and enables the extension to manage your apps and resources.
Sign in to Heroku in VS Code
- Open VS Code.
- Select the Heroku icon in the Activity Bar.
- Click
Sign in.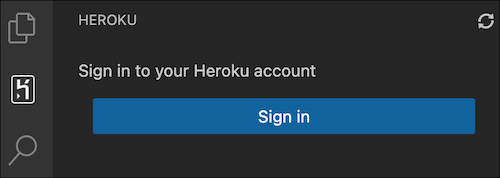
- Complete the login process in your browser or terminal:
- Your default browser opens automatically to the Heroku login page.
- If you use CodeBuilder, open a terminal window and use
heroku auth:login -i.
- Return to VS Code to confirm you’re logged into your Heroku account.
Verify Authentication
To verify authentication, confirm:
- Your profile information is in the extension panel.
- An authentication status icon is in the bottom-right corner.
- Selecting your user icon displays your authentication status.
- You have access to Heroku resources and commands.
Managing Your Session
Authentication persists between VS Code sessions, so you don’t sign in to Heroku each time you open VS Code.
To sign out:
- Select the user icon in the lower left corner of VS Code.
- Select your Heroku username, then click
Sign Out.
On sign out, your session ends. Sign in again to access Heroku features.
Troubleshooting Authentication
Network Problems
If you can’t connect, check your internet connection and try again. The extension shows a retry option if authentication fails.
Authentication Sync Issues
If the extension can’t access your Heroku account:
- Make sure your Heroku CLI is working correctly.
- Try signing out and back in.
- Check that you’re using the latest version of the extension.
Invalid Authentication
If your session becomes invalid, the extension detects the invalid session automatically. You’ll be prompted to sign in again and complete the authentication process.
Authentication Security
The Heroku VS Code extension uses the Heroku CLI for authentication. Heroku manages your credentials securely through the CLi and never stores them directly in the extension.
Access Your Heroku Apps in VS Code
To access your apps:
Select the Heroku icon in the Activity Bar to view a list of all the Heroku apps associated with your account.
Select an app to view its resources, including dynos, config vars, and add-ons.
Right-click on an app to perform actions. You can view logs, scale dynos, or open the app in your browser.
Provision Add-ons from Elements Marketplace
Enhance your app’s capabilities with additional services like databases, monitoring tools, and more with Heroku’s Elements Marketplace.
Select the Heroku icon in the Activity Bar to view a list of all the Heroku apps associated with your account.
Select an app.
Select
Add-onsto open the Elements Marketplace.Select an add-on and follow the instructions to provision it to your app.
After provisioning, manage your add-on in VS Code with the Heroku Resource Explorer.
Run Shell Scripts from the Editor
With the Heroku VS Code extension, you can execute shell scripts that use the CLI commands within the editor. Use shell scripts to automate tasks such as deploying an app, scaling dynos, running migrations, and more.
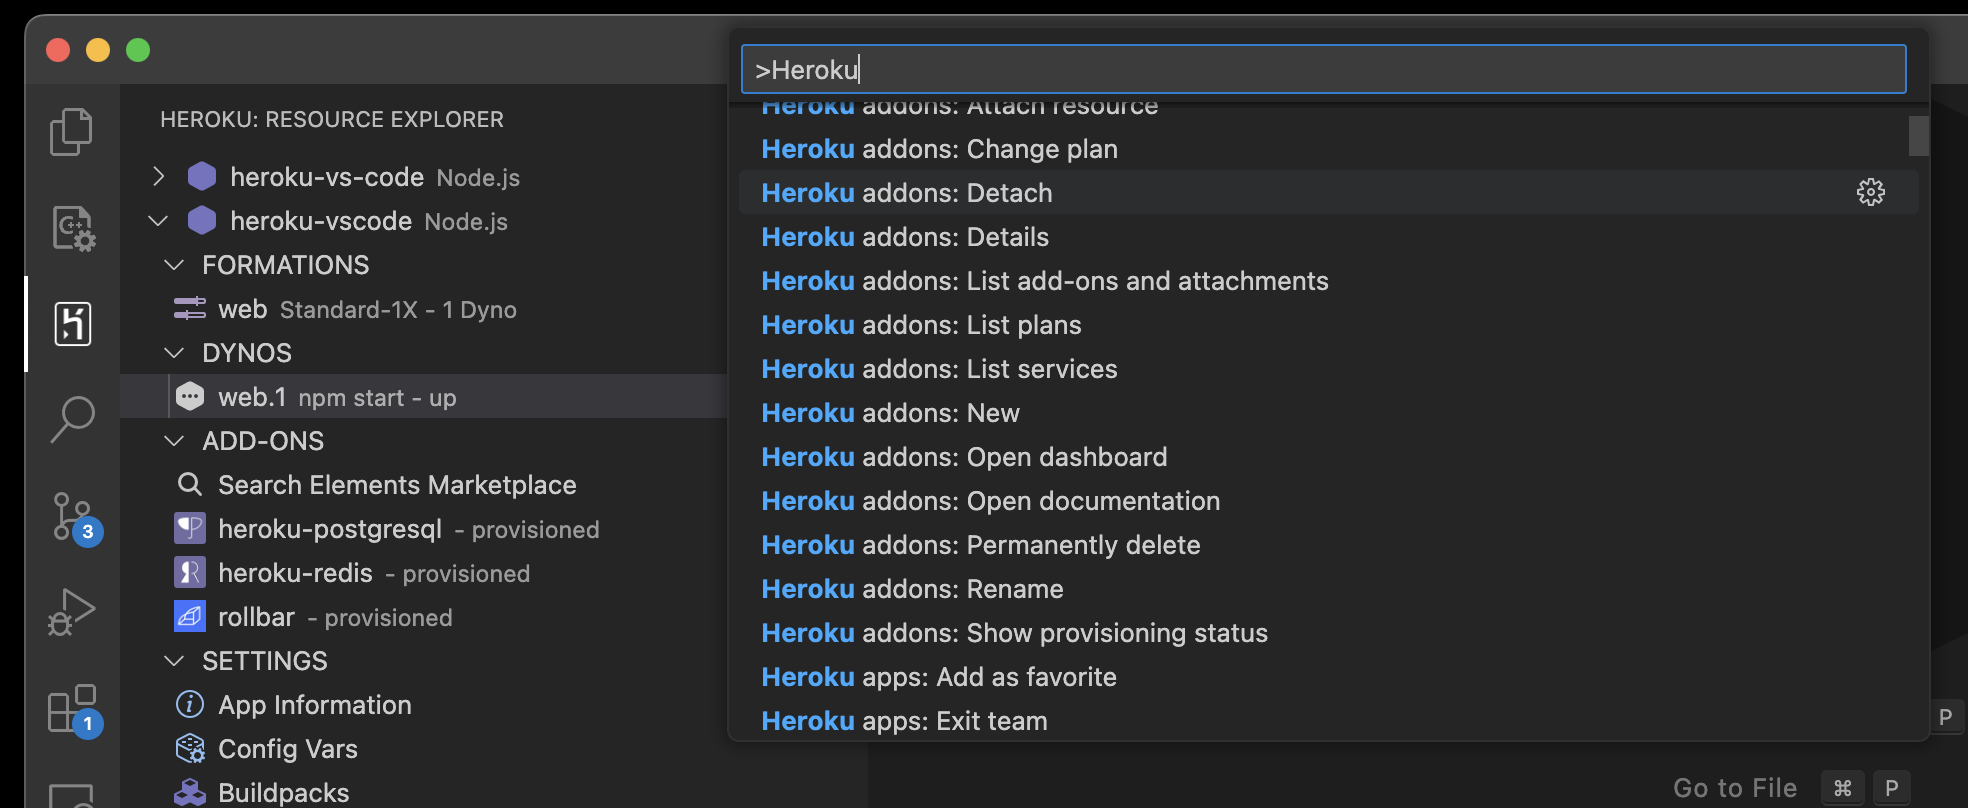
Explore the Command Palette
You can run Heroku CLI commands quickly and efficiently from the Command Palette in VS Code without using the terminal.
Open the
Command Palette(Ctrl+Shift+P or Cmd+Shift+P).Type
Herokuto see all the available Heroku commands.Select the command to execute.
Deploy to Heroku
Learn how to Deploy to Heroku from VS Code.
Additional Reading
Learn how to: