Table of Contents [expand]
Last updated September 05, 2025
It’s important for a web application to serve end-user requests as fast as possible. A good rule of thumb is to avoid web requests that run longer than 500 milliseconds. If you find that your app has requests that take 1, 2, or more seconds to complete, consider using a background job instead.
For a more information about this architectural pattern, read Worker Dynos, Background Jobs and Queueing.
This consideration is even more important for Node.js servers where computationally expensive requests can block the Event Loop. This block prevents the server from responding to any new requests until the computation is complete. Separating this computation into a different process keeps your web server light and responsive.
This article demonstrates worker queues with a sample Node.js application using BullMQ to manage the queue of background jobs.
This article assumes that you have Redis (for local development) and the Heroku CLI installed.
You can’t complete this tutorial with a Fir-generation app.
Using dynos to complete this tutorial counts towards your usage. We recommend using our low-cost plans to complete this tutorial. Eligible students can apply for platform credits through our new Heroku for GitHub Students program.
Getting Started
Complete these steps to clone this application into your Heroku account.
Via Dashboard
- Click

- Under the
Resourcestab in the Dashboard, scale theworkerprocess to at least 1 dyno so that jobs are processed. - Open your app in the browser to kick off new jobs and watch them complete.
Via CLI
$ git clone git@github.com:heroku-examples/node-workers-example.git
$ cd node-workers-example
$ heroku create
$ heroku addons:create heroku-redis
$ heroku addons:wait
$ git push heroku main
$ heroku ps:scale worker=1
$ heroku open
Application Overview
The application consists of two processes.
web— An Express server that serves the frontend assets, accepts new background jobs, and reports on the status of existing jobs.worker— A small Node.js process that executes incoming jobs.
You can scale these processes independently based on specific application needs. For more information about Heroku’s process model, read the Process Model article.
The web process serves the index.html and client.js files, which implement a simplified example of a frontend interface that kicks off new jobs and checks in on them.
Web Process
server.js is a tiny Express
server. The important points to note are connecting to the Redis server and setting up the named work queue.
// Connect to a local redis instance locally, and the Heroku-provided URL in production
const redisUrl = new URL(env.REDIS_URL || 'redis://127.0.0.1:6379')

const redisConnection = new Redis({
  host: redisUrl.hostname,
  port: redisUrl.port,
  user: redisUrl.username,
  password: redisUrl.password,
  // Redis connections on Heroku use TLS to encrypt traffic + self-signed certificates so we'll
  // configure this client with `rejectUnauthorized` to treat this connection as trusted.
  // See: https://devcenter.heroku.com/articles/connecting-heroku-redis
  tls: redisUrl.protocol === 'rediss:' ? { rejectUnauthorized: false } : false,
})

// Create / Connect to a named work queue
const workQueue = new Queue('work', {
  connection: redisConnection
})
Another important note is kicking off the job when a POST request comes in.
app.post('/job', async (req, res) => {
  const data = {} // empty for this example app
  const job = await workQueue.add('example', data)
  console.log(`Enqueued job: ${job.id}`)
  res.json({
    id: job.id
  })
});
Typically, you don’t give clients direct access to kicking off background jobs this way, but this simple example is for demonstration purposes.
Worker Process
worker.js spins up a cluster of worker processes using
pm2. In this example, the job sleeps for a bit before resolving, but it’s a good starting point for writing your own workers.
Two concurrency concepts are important to understand. The first is the number of worker instances running as a cluster on a Dyno which is defined in the application configuration found in pm2.config.cjs:
{
    name: 'worker',
    script: "./worker.js",
    exec_mode: "cluster",
    instances: env.WEB_CONCURRENCY || 1
}
Each worker instance is a standalone Node.js process managed under pm2’s cluster mode with an independent Event Loop. On Heroku dynos, a default value is set for you in the WEB_CONCURRENCY environment variable. This value scales based on the amount of memory on the dyno, but sometimes you must tune it for your specific application. To learn more, read Optimizing Node.js Application Concurrency.
The second concurrency concept is the maximum number of jobs each worker processes at a time.
new Worker('work', processJob, {
    connection: redisConnection,
    concurrency: 50
  })
Each worker picks jobs off of the Redis queue and processes them. This setting controls how many jobs each worker attempts to process at one time.
Tuning this setting to your application is likely a task to complete. If each job mostly waits on network responses, like an external API or service, configure this setting to be higher. If each job is CPU intensive, consider configuring the setting to as low as 1. In this case, we recommend trying to spin up more worker processes.
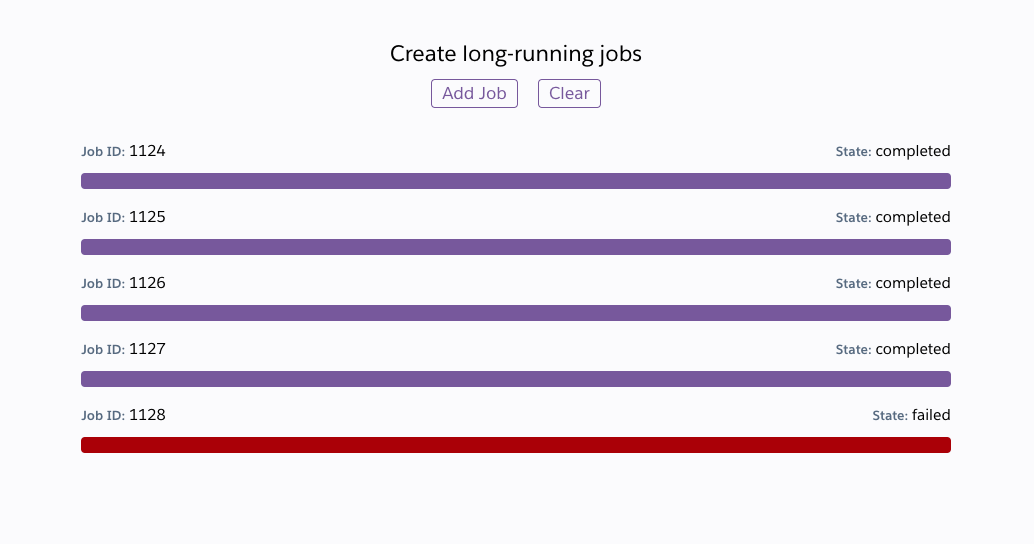
Client Web App
client.js implements a tiny web frontend so that you can kick off jobs and watch them process. What you learned in this article is a small example of BullMQ’s capabilities. It has many more features, such as:
- Priority queues
- Rate limiting
- Scheduled jobs
- Retries
For more information on using these features, see the BullMQ documentation.