Last updated April 24, 2023
Twilio SendGrid is an add-on for providing scalable email delivery and analytics for apps.
Twilio SendGrid’s cloud-based email infrastructure relieves businesses of the cost and complexity of maintaining custom email systems. Twilio SendGrid provides reliable delivery, scalability and real-time analytics along with flexible APIs that make custom integration a breeze.
A list of all plans available can be found here .
If you are new to Heroku, you may need to enter a credit card and verify your account information via SMS when adding the Twilio SendGrid add-on.
If you do not already have a Heroku application where you intend to use Twilio SendGrid, create one on the Heroku Apps page. See Heroku’s Getting Started guides for more.
Provisioning the add-on
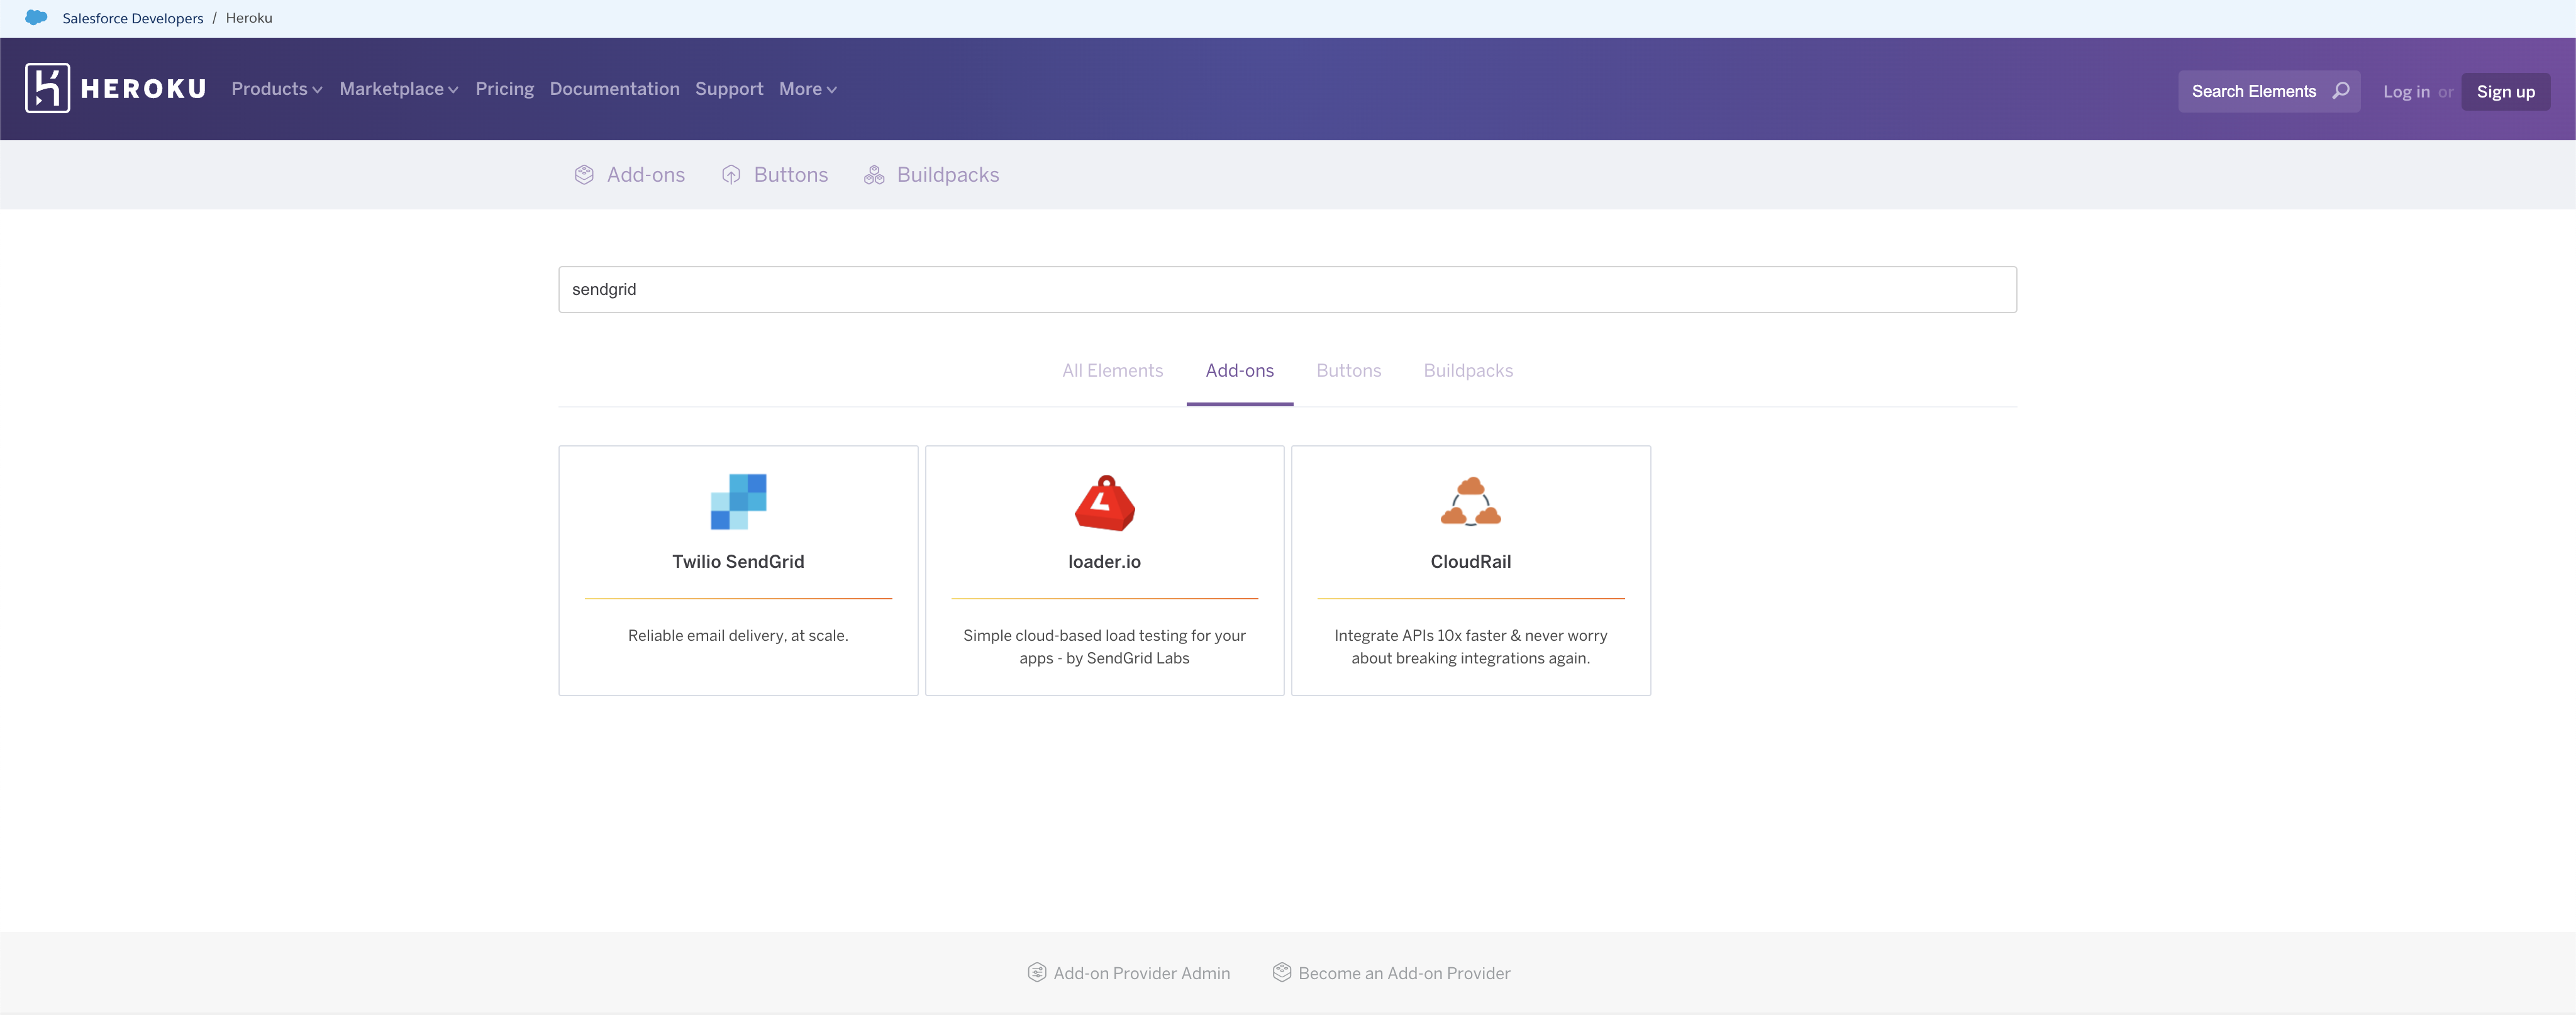
Once you have a Heroku app, you can navigate to the Heroku Add-ons page and search and select “Twilio SendGrid”.
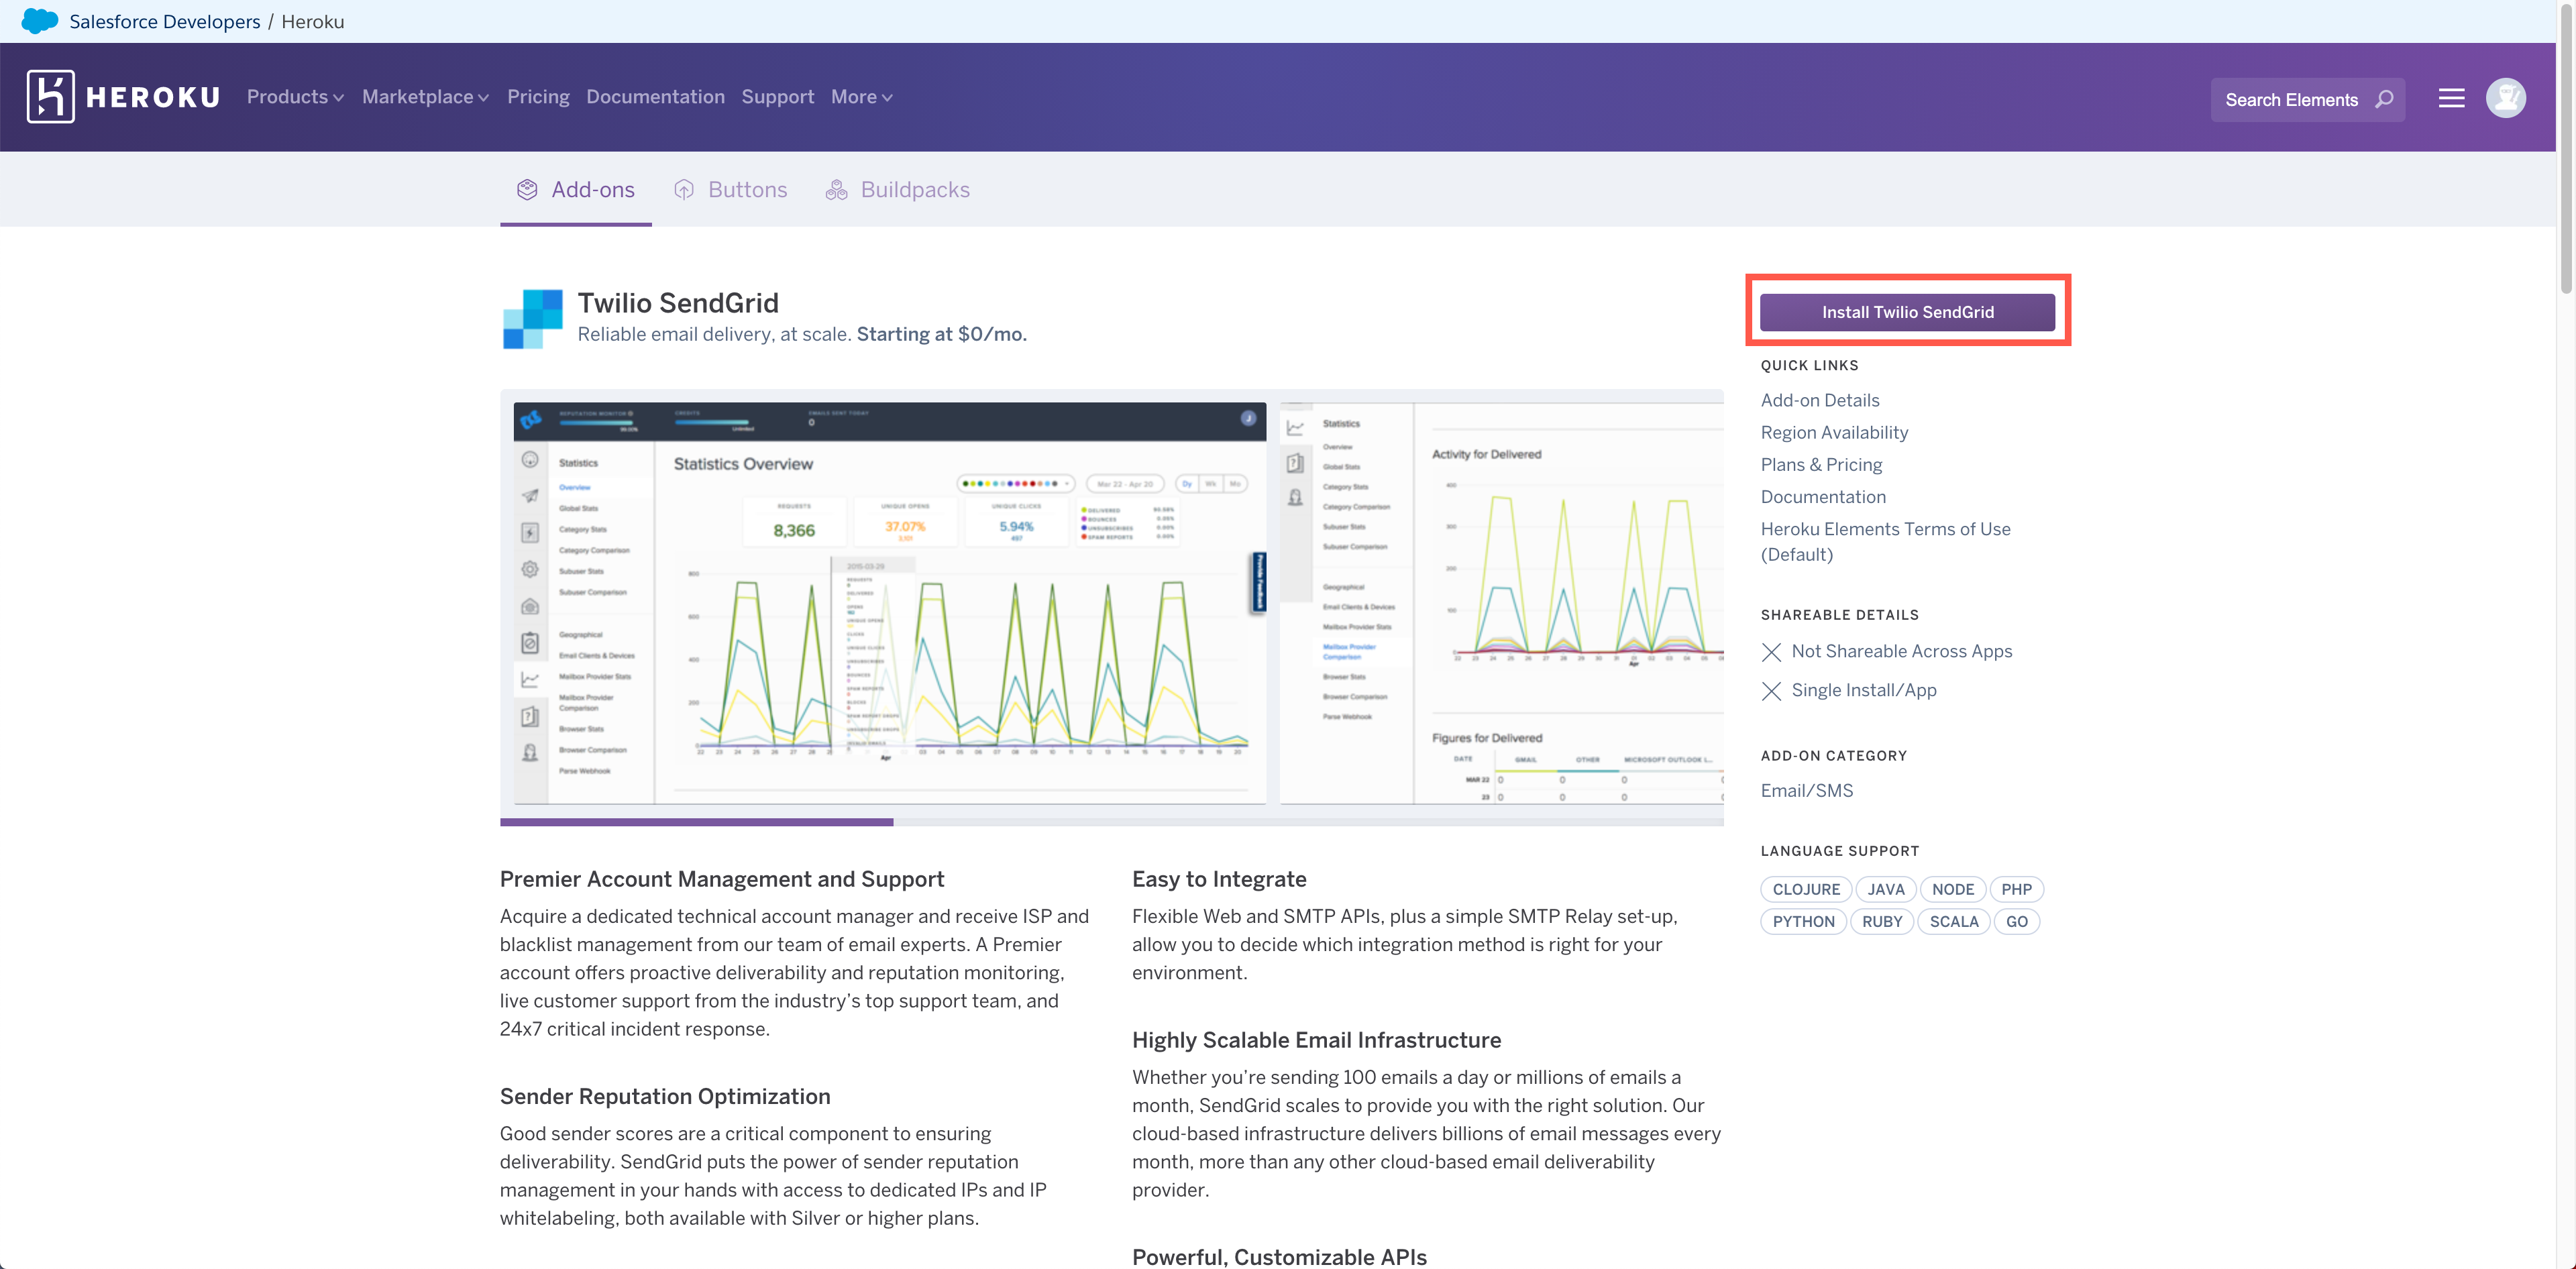
Selecting the add-on will load a detail view with more information about the add-on. Select Install Twilio SendGrid.
A new page will load where you can assign the add-on to your Heroku app. Once assigned to the correct app, select Submit Order Form.
The Heroku add-on will generate a new email address like example1234@heroku.com. This address is specific to your add-on and will be different from other SendGrid credentials you’ve created previously.
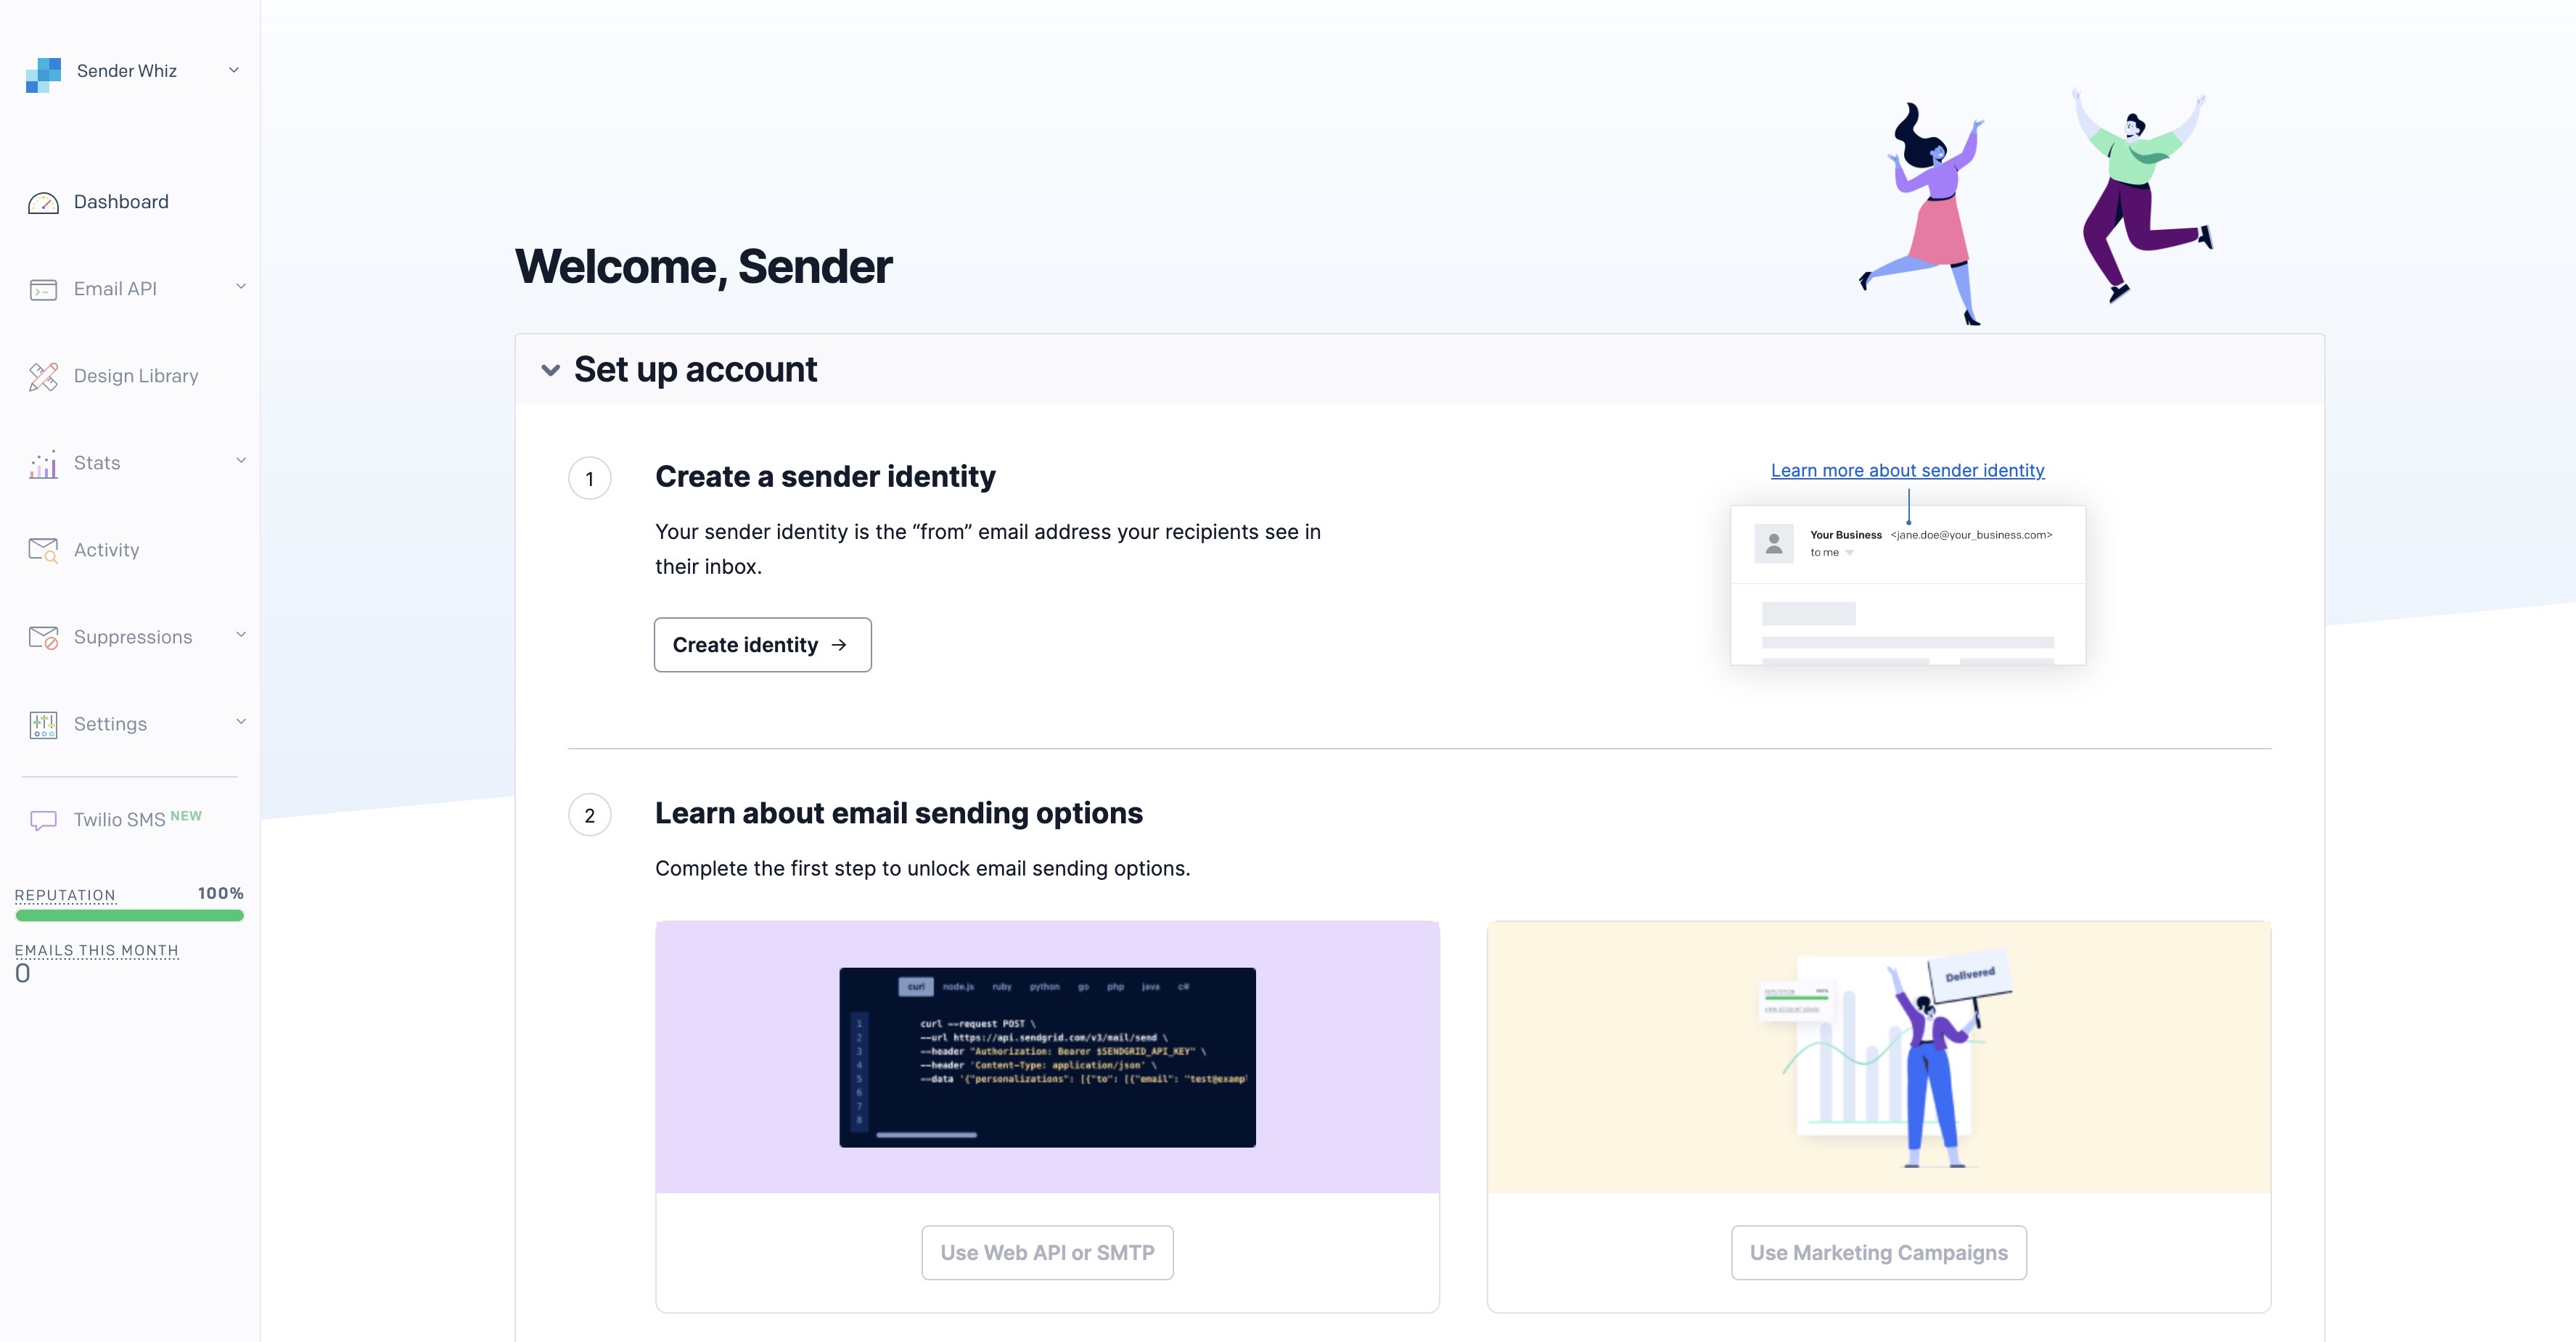
You will next be sent to the Heroku Resources page for your app where you will see the Twilio SendGrid add-on. Click the add-on to be taken to the Twilio SendGrid dashboard, where you will be asked to follow a few additional steps to configure your email service for use.
Two-factor authentication
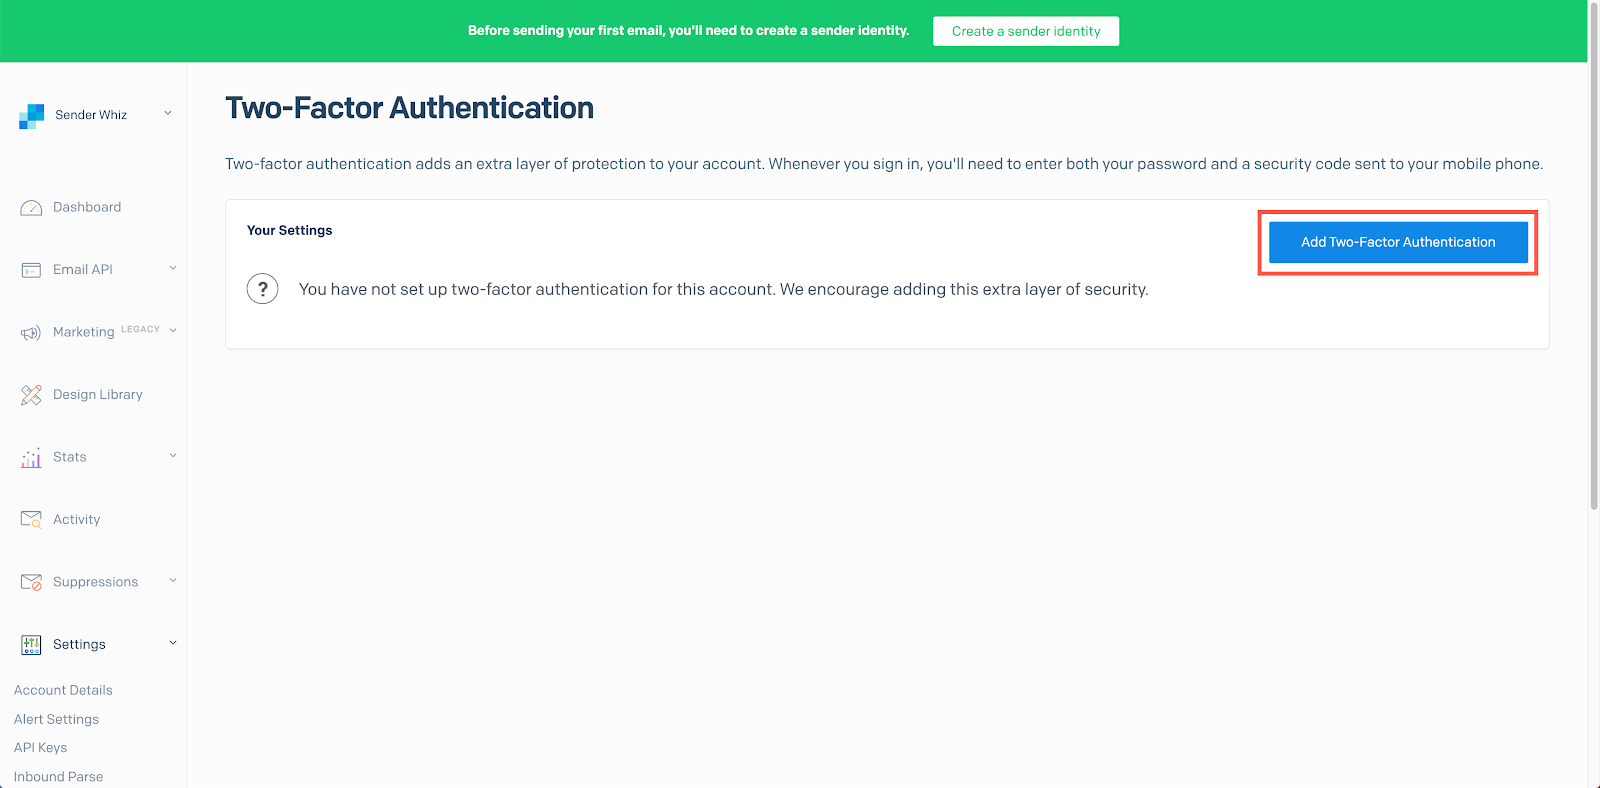
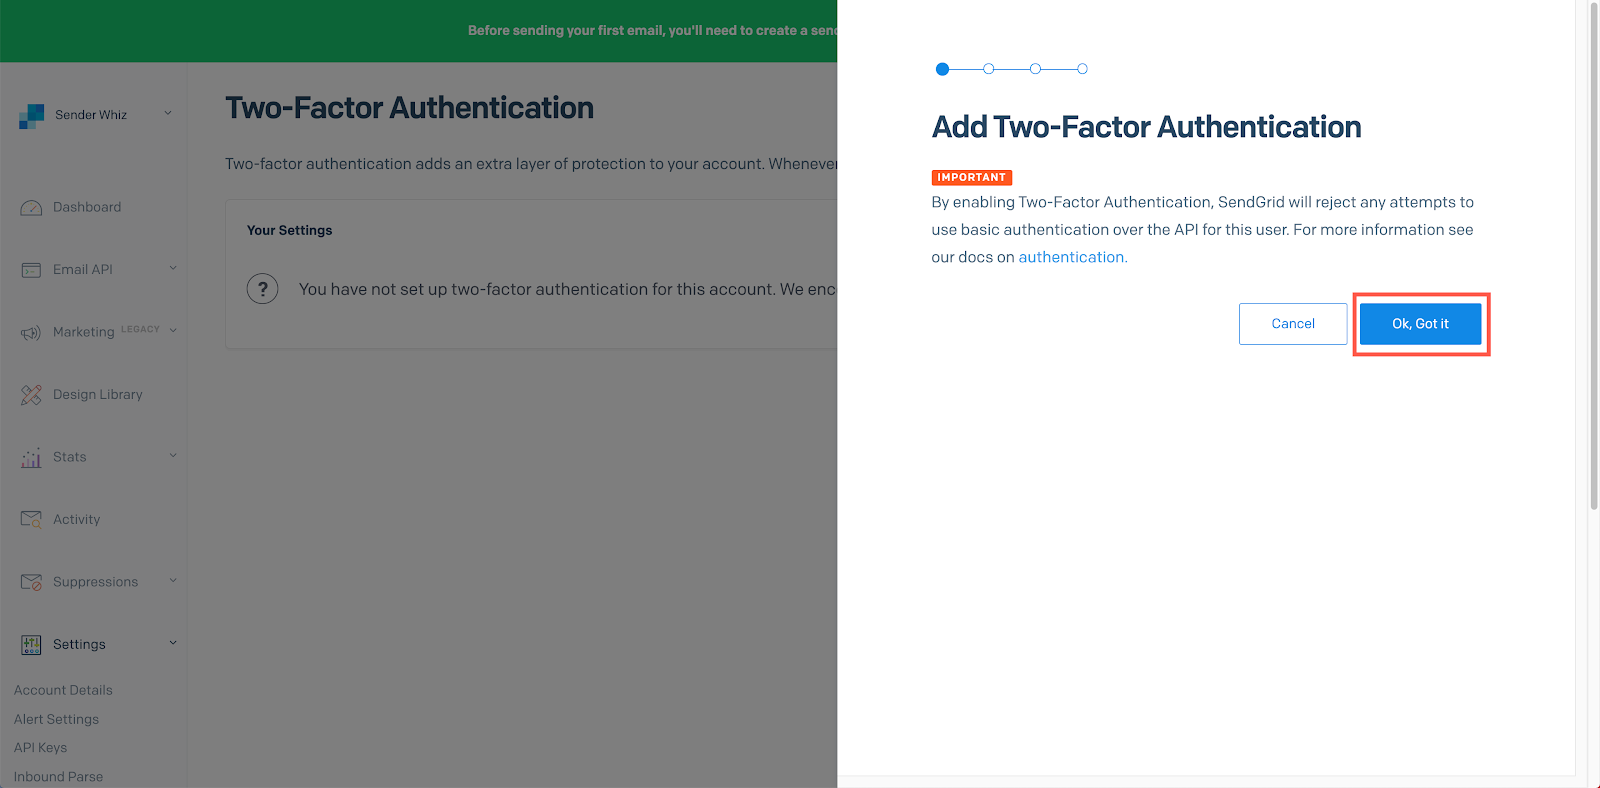
Two-factor authentication (2FA) is required by Twilio SendGrid. To enable 2FA, navigate to Settings > Two-Factor Authentication in the Twilio SendGrid App, and click Add Two-Factor Authentication.
A sidebar menu will ask you to confirm that you want to enable 2FA. If you have previously configured authentication with Twilio SendGrid APIs via Basic Authentication, enabling 2FA will break your integration. You must use API keys to authenticate with Twilio SendGrid APIs. Click Ok, Got it to continue.
You can next decide if you want to enable 2FA via SMS or the Authy App. Select the option that best fits your needs and click Next.
Enter a phone number on the next page to complete the 2FA process.
With two-factor authentication enabled, you’ll need to create an API key, which allows you to authenticate with the Twilio SendGrid APIs.
API keys
API Keys are used by your application, mail client, or website to authenticate access to Twilio SendGrid services. Unlike a username and password, an API key can be scoped to provide access to the minimum services needed by your application, and you can revoke an API key at any time without needing to change your username and password. For these reasons, API keys are required when connecting to all of Twilio SendGrid’s services.
Create an API key
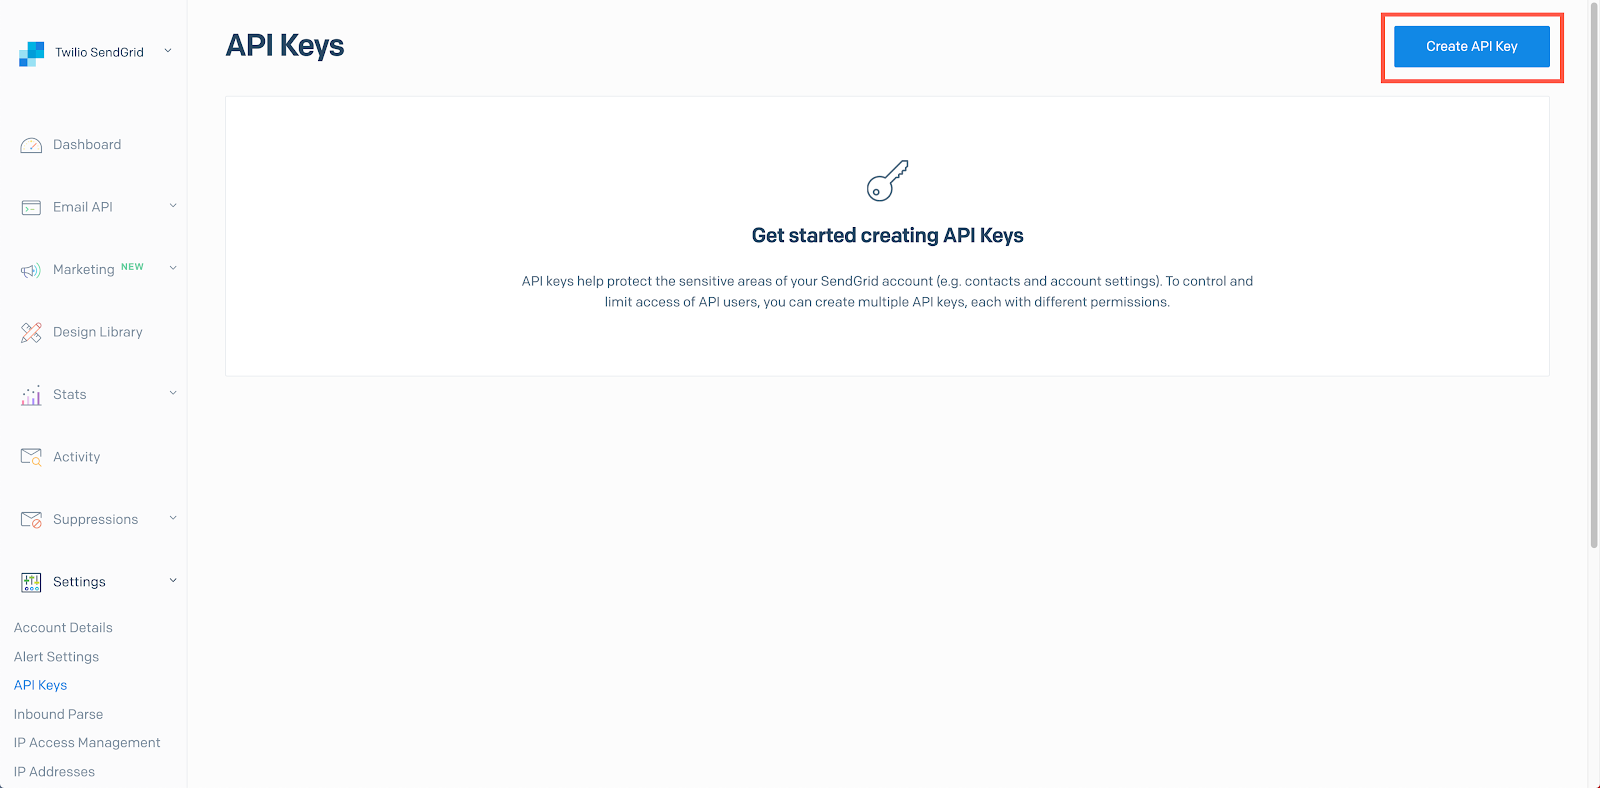
In the Twilio SendGrid App, navigate to Settings > API Keys.
Click Create API Key to load a sidebar menu:
Choose the type of API Key you would like to create:

Be sure to name your API key something meaningful. You can then select the type of API key you want to create:
- Full Access
- Restricted Access
- Billing Access
It is generally a good idea to give a key the least privilege possible. You can do this by selecting Restricted Access and limiting the actions available to a key. For more about managing Twilio SendGrid API keys, see the official Twilio SendGrid API keys documentation.
When you create a Twilio SendGrid API key, it will be displayed to you only once. It is important to copy it and store it somewhere secure. If you lose your key, you will need to create a new one. The permissions assigned to a key can be modified later.
After installing Twilio SendGrid and creating an API Key the application will be configured to fully integrate with the add-on.
API keys as configuration variables
You can use the Heroku CLI’s config commands or your app’s settings tab to manage your API key.
Managing API keys with the CLI
Add a configuration variable
$ heroku config:set SENDGRID_API_KEY=xxxx_api_key_xxxx -a <your-app>

Adding config vars and restarting myapp... done, v12

SENDGRID_API_KEY: xxxx_api_key_xxxx
View your configuration variables
$ heroku config -a <your-app>

SENDGRID_API_KEY: xxxx_api_key_xxxx

OTHER_VAR:    production
View a specific configuration variable
$ heroku config:get SENDGRID_API_KEY -a <your-app>

xxxx_api_key_xxxx
Remove a configuration variable
$ heroku config:unset SENDGRID_API_KEY

Unsetting SENDGRID_API_KEY and restarting myapp... done, v13
Managing API keys from the Heroku Dashboard
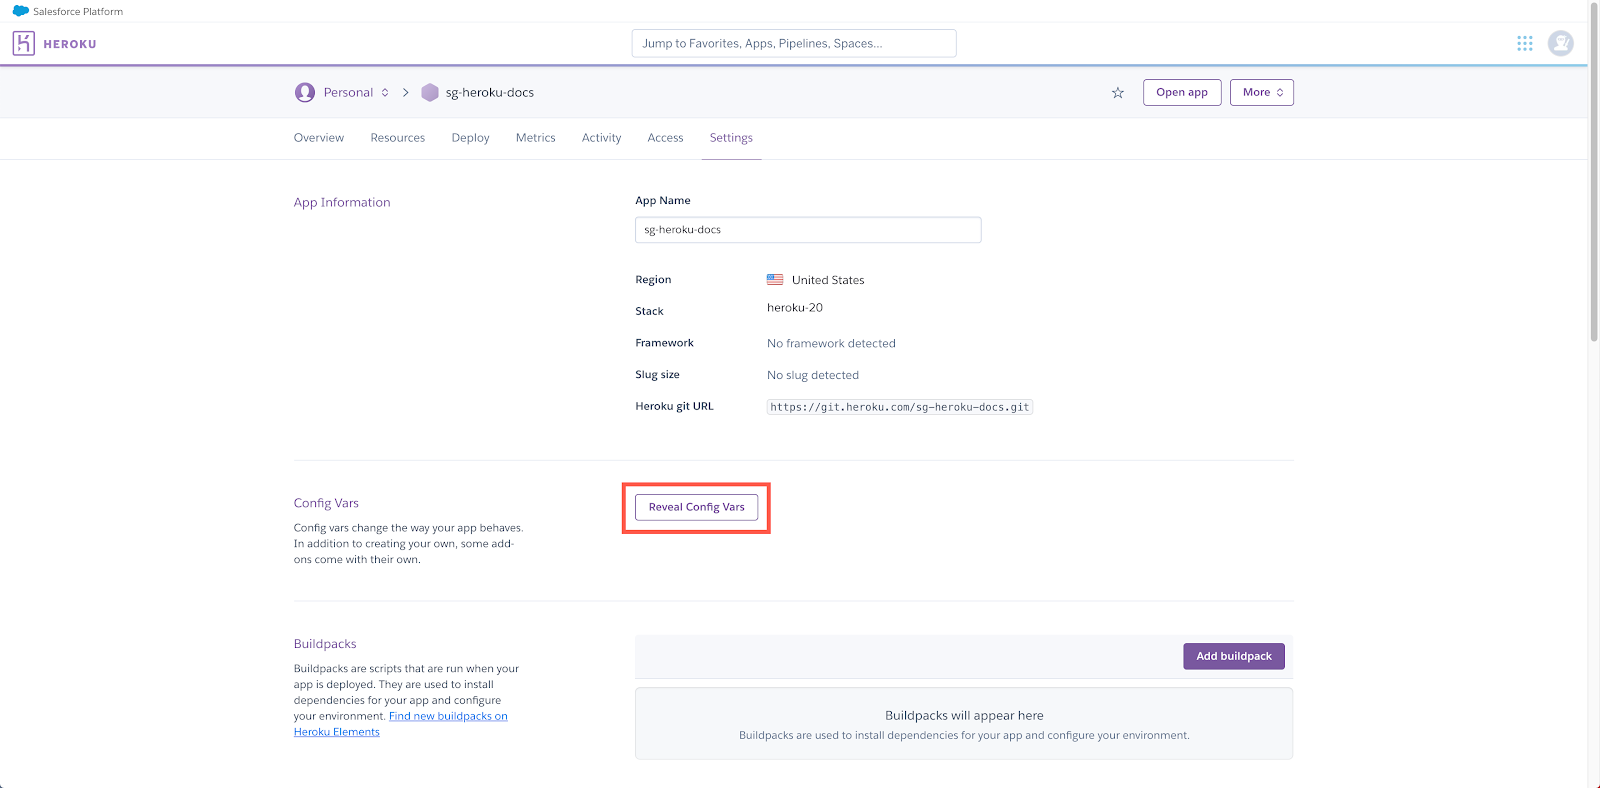
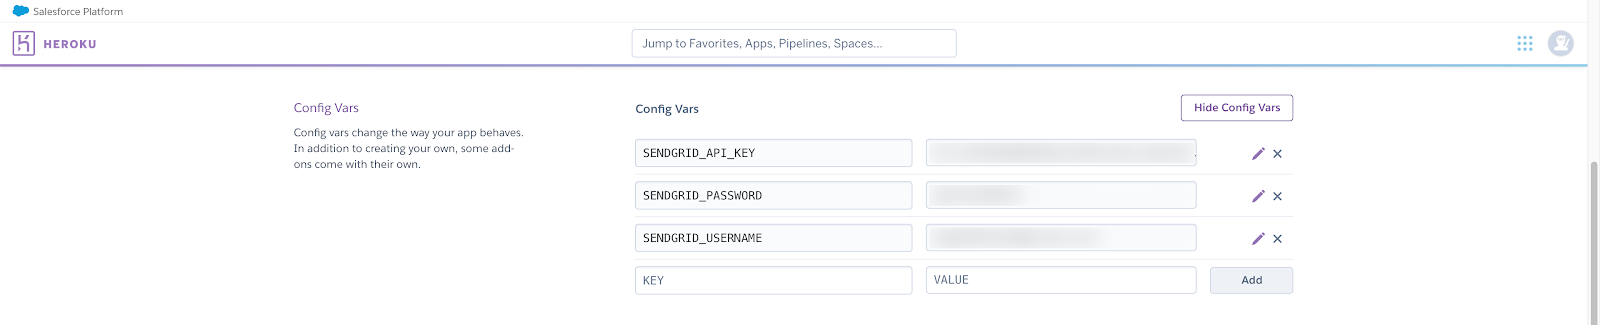
To manage the configuration variables assigned to an app, navigate to the app’s Settings tab. Click Reveal Config Vars.
You can use this page to add or delete any configuration variables for the app, including your Twilio SendGrid API key.
Using your API key
Twilio SendGrid v3 APIs and helper libraries
Depending on which Twilio SendGrid service you are using, you will use your API key differently. When making requests to the Twilio SendGrid v3 APIs, you will pass your API key as a Bearer Token. See the Twilio SendGrid v3 API reference to get started.
The Twilio SendGrid v3 API helper libraries are also a great way to get started, and they will provide a method to set your key, handling the authentication via Bearer Token for you. See the Twilio SendGrid developer documentation for helpful code examples and links to helper libraries in C#, Go, Java, Node.js, PHP, Python, and Ruby.
SMTP integration
When using Twilio SendGrid’s SMTP integration, you will pass your API key as a password via Basic Authentication. Your username will always be the string, “apikey.” Using the username and password generated for your account by Heroku will fail. Your account credentials are separate from the credentials used to authenticate with Twilio SendGrid’s APIs and SMTP services.
username: "apikey"
password: <your-api-key>
Sender Verification
To protect your sending reputation and to uphold legitimate sending behavior, Twilio SendGrid requires customers to verify their Sender Identities. Setup includes domain authentication, which requires you to add DNS records provided by Twilio SendGrid to your domain. For instructions on the domain authentication process, see How to Set Up Domain Authentication in the Twilio SendGrid documentation.
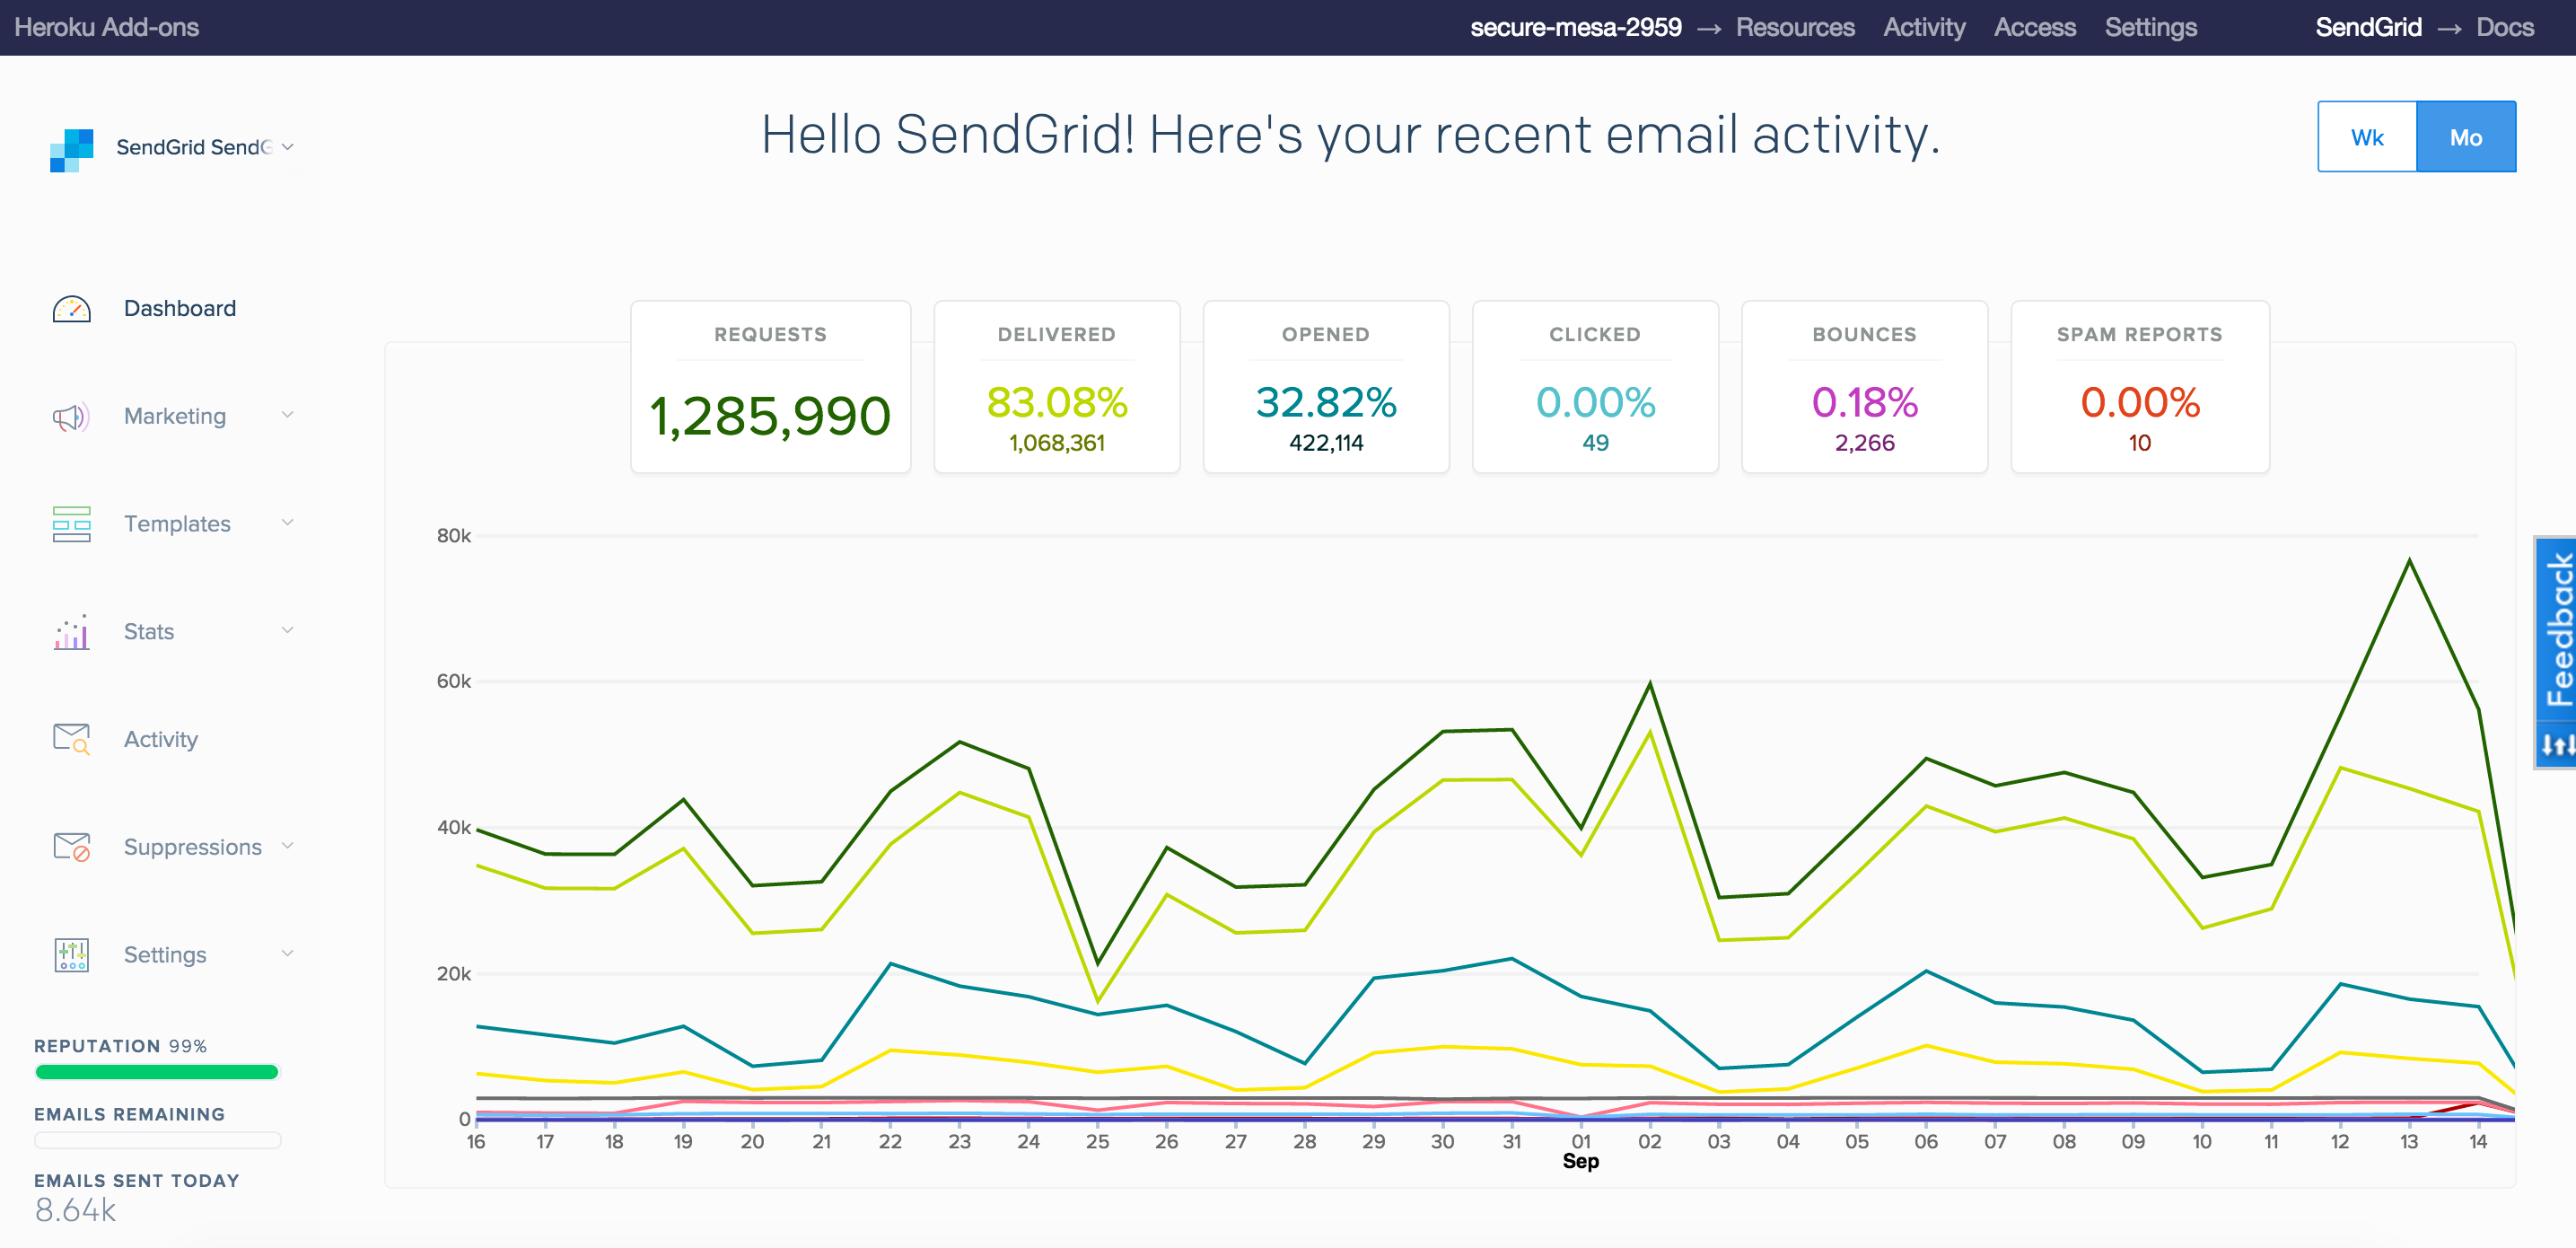
Dashboard
For more information on the features available within the Twilio SendGrid dashboard please see the docs at sendgrid.com/docs.
Twilio SendGrid offers statistics and a number of different metrics to report on what is happening with your messages.
Access the Twilio SendGrid Dashboard from the Heroku CLI
$ heroku addons:open sendgrid
Opening sendgrid for <your-app>
Access the Twilio SendGrid Dashboard from the Heroku Dashboard
Visit the Heroku Dashboard and select the application to which you have added Twilio SendGrid. Select Twilio SendGrid from the Add-ons menu. A browser tab will open and authenticate to the Twilio SendGrid Dashboard.
Migrating between plans
Plan migrations are easy and instant. Use the heroku addons:upgrade command to migrate to a new plan.
$ heroku addons:upgrade sendgrid:platinum
-----> Upgrading sendgrid:platinum to <your-app>... done, v18 ($399.95/mo)
       Your plan has been updated to: sendgrid:platinum
Removing the add-on
Twilio SendGrid can be removed via the CLI. If you accidentally remove the Twilio SendGrid add-on, re-adding Twilio SendGrid will resume your access to the account
$ heroku addons:destroy sendgrid
-----> Removing sendgrid from <your-app>... done, v20 (free)
Support
All Twilio SendGrid support and runtime issues should be submitted via one of the Heroku Support channels. Any non-support related issues or product feedback is welcome at https://support.sendgrid.com/hc/en-us.
Additional resources
Additional resources are available at: