Last updated April 25, 2024
This feature is deprecated and replaced by multi-factor authentication.
If you previously enabled two-factor authentication (2FA), you’re automatically migrated to use multi-factor authentication. Your authenticator app and recovery codes continue to work as MFA verification methods. Any phone number configured as 2FA backup can be used as a verification method for a limited time.
Two-factor authentication adds an extra layer of security to your Heroku account by asking for a verification code after you sign in with your email address and password.
An application on your smartphone generates the verification code. To gain access to your account a potential attacker would need your email address, your password, and your phone.
We recommend that all users enable two-factor authentication for their accounts.
Enabling Two-Factor Authentication
Enabling two-factor authentication logs you out of all but the current session and regenerates your API key. SSH-based Git push isn’t affected.
You can enable two-factor authentication on your Dashboard account page by clicking the Enable two-factor authentication button and following the on-screen instructions.

Download an authenticator app for your smartphone. We recommend Google Authenticator or Authy, but other alternatives also work.

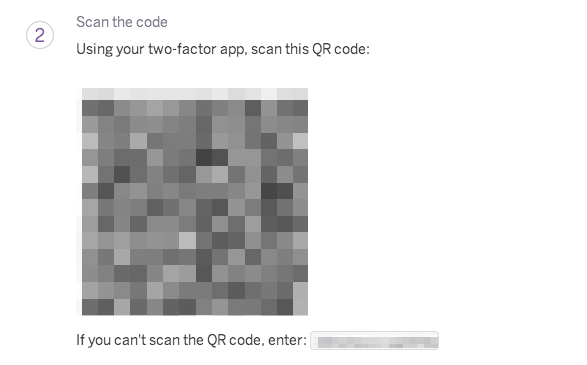
Scan the barcode shown on the Dashboard page with the downloaded authentication app.

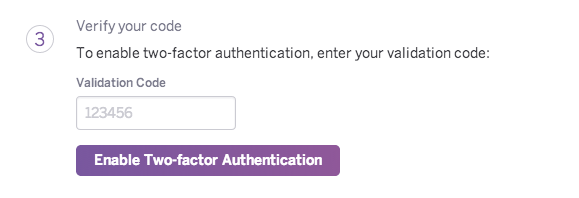
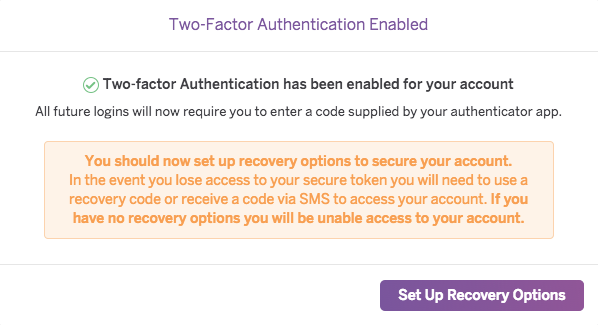
To validate your device, enter the six-digit code displayed on your smartphone. Two-factor authentication is now enabled for your account.


Setting Up Recovery Options
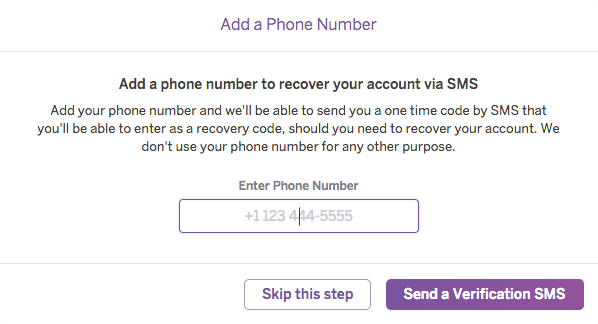
After you configure your smartphone authenticator app, Heroku prompts you to add and validate a phone number. An SMS can be sent to the phone number during login to recover access to your account in case you lose access to your authenticator app and you don’t have access to your recovery codes. SMS backup recovery by phone is strongly recommended to avoid losing access to your account.

Heroku validates your phone number by sending an SMS with a setup code. Sometimes Heroku can’t deliver messages to your phone number. In that case, skip the SMS setup, and be extra diligent when downloading and storing the recovery codes in a safe and accessible place. If you encounter problems setting up SMS recovery, email 2fa-feedback@heroku.com.
Do not use Google Voice or other VoIP numbers for two-factor SMS recovery. If your online identity is compromised, such as your email account, it’s possible that attackers can gain access to your VoIP phone account, can receive recovery messages, and get access to your Heroku account. Also check that your phone account subscription is secure so that attackers can’t spuriously access SMS messages through an online interface or similar.
Heroku prompts you to download recovery codes. Recovery codes are single-use and can be used as an alternative to 2FA codes delivered via your authenticator app or with SMS.
After enabling two-factor authentication, download and print your recovery codes, and then store them in a secure place. If you lose your phone, you can use them to authenticate. For security reasons, sometimes Heroku Support can’t restore access to accounts with two-factor authentication enabled if you lose your phone, you can’t recover with SMS, and you don’t have access to your recovery codes.
Using Two-Factor Authentication on the Command-Line Interface
After your account has two-factor authentication enabled, you’re asked to reauthenticate the next time that you use the command-line interface.
Make sure that you have the latest CLI version with two-factor authentication support by running heroku update.
You can authenticate with your email address and password followed by the authentication code displayed on your phone.
$ heroku login
Enter your Heroku credentials.
Email: email@example.com
Password: password
Two-factor code: 123456
...
Using Recovery Codes
If you lose access to your two-factor device, for example, you lose your phone or it’s wiped, you can still log in to your account. When prompted for the second factor after entering your account password, choose Enter a Recovery Code. You can then enter one of your recovery codes instead of a token from your two-factor device. Note that each recovery code can only be used once.
After you log in to your account, reconfigure two-factor authentication on the account page.
Recovering From Lock-Out
If you’re locked out due to a two-factor issue, DO NOT reset your password.
To prevent lock-out, always download recovery codes, store them in a safe place, and make sure that your SMS number is up to date. To get recovery codes, from your account page, click View Recovery Codes.
If for some reason you lose access to your two-factor device and your recovery codes, you have three additional ways you can regain access.
- If you’re logged into Dashboard in a browser, you can turn off two-factor authentication for your account on the Settings page. You’re asked for your password.
- If you have a valid CLI session on your computer, you can use the CLI to turn off two-factor authentication with the command
heroku 2fa:disable. You’re asked for your password. - If you set an SMS number, you can obtain a two-factor code via SMS. Choose Get a code via SMS when logging in.
If none of these methods work for you, you’re not guaranteed to regain access to your account. For help, email account-lockout@heroku.com. We can only disable two-factor authentication if we can verify your ownership of the account, which isn’t always possible.
Changing Your Mobile Device
If you change to a new mobile device, you must disable two-factor authentication and then re-enable it using the new device. If your old device is still functional, use the authenticator app on the old device to log in. It works even if you’re not connected to the network. If your old device no longer works, use your recovery codes or the other recovery methods mentioned above.
Note that even if you restore a backup of your old mobile device on a new device, it’s possible that you still must reconfigure two-factor authentication. For security reasons, the two-factor configuration isn’t backed up by the Google authenticator app. Other applications can work differently.
If you use an iPhone, enable encryption on your iPhone backup, and many passwords are remembered after a restore. Some users have reported success with restoring Google authenticator app this way.
Disabling Two-Factor Authentication
You can disable two-factor authentication from the Dashboard account page. For added security, you’re asked to supply your password. You can also disable it from the CLI with this command and your password.
$ heroku 2fa:disable