Last updated October 12, 2021
This add-on is operated by Tinkomatic, LLC
Analytics and Data Visualisation based on Apache Superset
Duperset is a SaaS analytics service based on open-source Apache Superset.
Duperset allows you to get started with Superset in minutes and take advantage of a rich set of features focused on data exploration and visualization with charts and dashboards.
Provisioning the add-on
Duperset can be attached to a Heroku application via the CLI:
$ heroku addons:create duperset
Opening Duperset
You can access Duperset via the CLI:
$ heroku addons:open duperset
Opening duperset for sharp-mountain-4005
or by visiting the Heroku Dashboard and selecting the application in question. Select Duperset from the Add-ons menu.
First principles of Superset
There are a few key concepts you need to familiarize yourself with in order to get started with Superset. After you’ve done that, Superset’s UI is largely self-explanatory.
Accessing data
Superset provides a tight level of access control to your data. Unless you explicitly make them available as datasources, tables and their fields in your database are not available for visualization.
Datasources can be created either by defining available tables and associated fields; or by creating sql queries to act as datasources.
In either cases, you need to first configure the target databases you want to explore. The steps for configuring your databases are described in Connect to a target database.
After you configure your database, you can define a combination of:
- Tables you want to enable access to.
- SQL queries you can save and make available as datasources.
The steps for defining tables are described in Create datasources using tables. The steps for defining SQL queries are described in Create datasources using sql lab.
After you configure Superset access, you can create and edit both slices and dashboards.
- Slices are visualizations on your tables and related fields.
- Dashboards are sets of slices that can be shared.
The steps for creating slices and dashboards are described in Creating slices and dashboards.
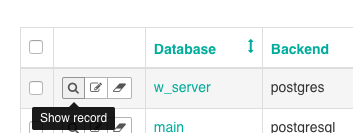
Everything is a record
In the Superset UI (and underneath its hood), every component of your configuration is represented as a record. This includes the configuration of your databases, tables, and slices.
This unified model allows for fine-grained access control, but it can also be confusing at first. Language in the UI that says “show record” in fact means “show the details of this database configuration.”
The core metrics you define and measure as a Superset admin are also represented as records to view, edit, or delete:
Note that these are actual records that are stored in a separate configuration database that Duperset automatically provisions and maintains for your add-on instance.
Initial setup
Connect to a target database
Whenever possible, connect to a follower database rather than to your app’s primary production database.
Navigate to Menu > Sources > Databases:

Click the
+button on the far right to configure a new database source.
The available fields are mostly self-explanatory:

One critical field to note: the value of the
SQLAlchemy URIfield should be the database URL specified in your Heroku config. It should have the following format:postgresql://{userid}:{password}@{host}:5432/{dbname}Replace
5432with your port for Postgres if you aren’t using the default port.Make sure that the URL starts with
postgresqland not justpostgres.
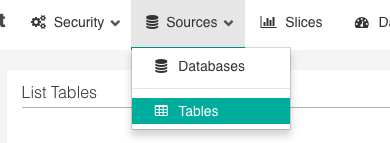
Create datasources using tables
After you’ve configured the database(s) you want to connect to, you can create datasources for your visualizations either by configuring tables, or by defining queries using sql lab.
When using tables, you need to explicitly define which tables in your database you want to give access to, and for each table, which fields you want to give access to.
The steps for adding a new table are similar to those for adding a new database:
Navigate to Menu > Sources > Tables:
Click the
+button on the far right to configure a new table source.
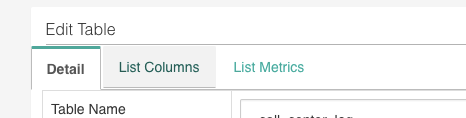
After creating the record, edit it to specify which fields will be available.
On the Edit Table screen, navigate to the List Columns tab:

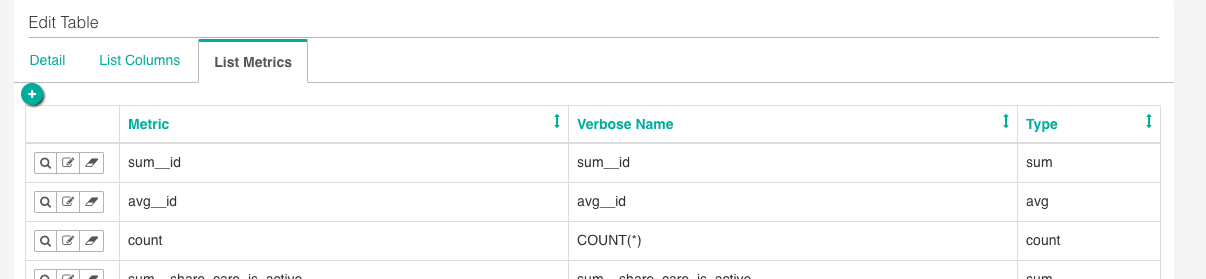
Here, you define which fields are available to your users, along with underlying semantics to apply to them (which fields can be grouped, counted, summed, and so on).
These fields become available to your users as metrics:
At this point, you and your users have the basic blocks in place to start creating visualizations (“slices”) and dashboards.
Create datasources using sql lab
The alternative to defining tables as datasources is building sql queries using sql lab:
Navigate to Menu > SQL Lab. The sql editor allows you to write and run sql queries.
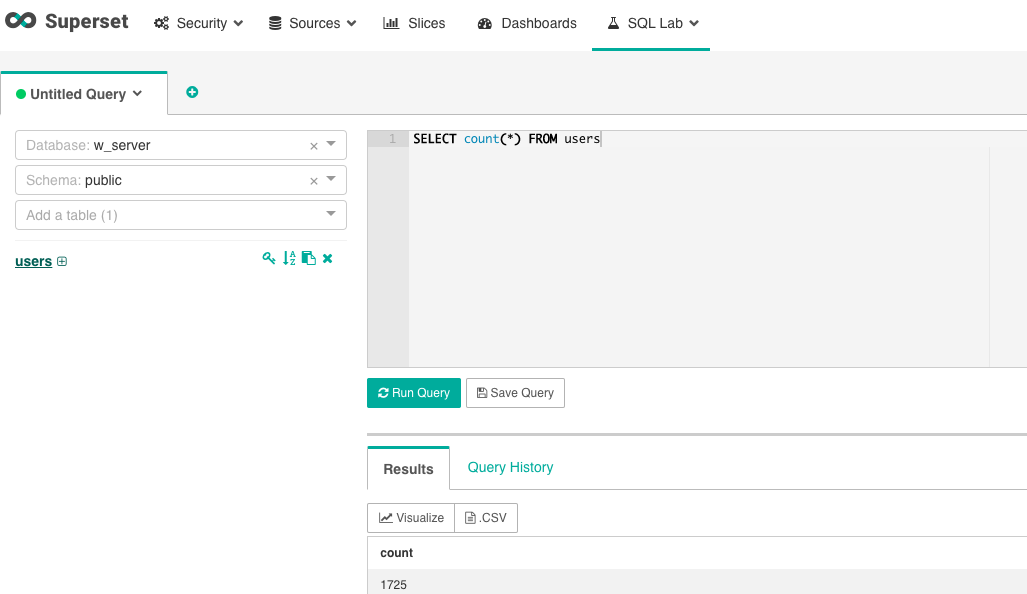
Click on the Visualize button when you want to make a query available as a datasource..
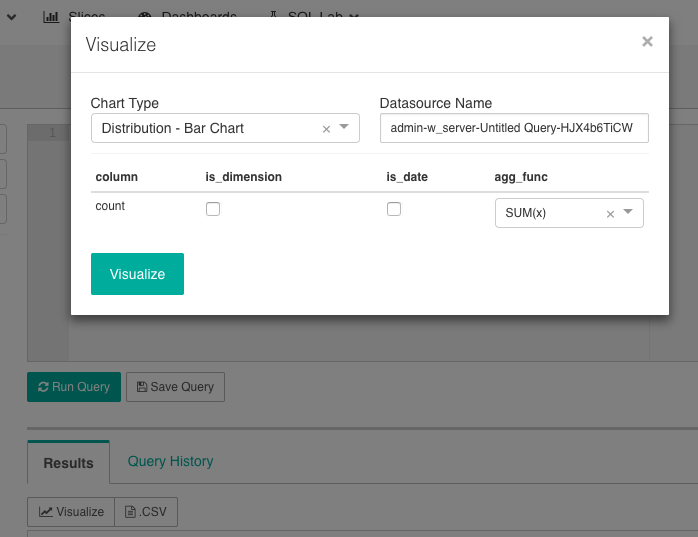
Here, you can select the type of visualization you want to build, change the name of the datasource, as well as define dimensions you’re making available in your visualization.
Creating slices and dashboards
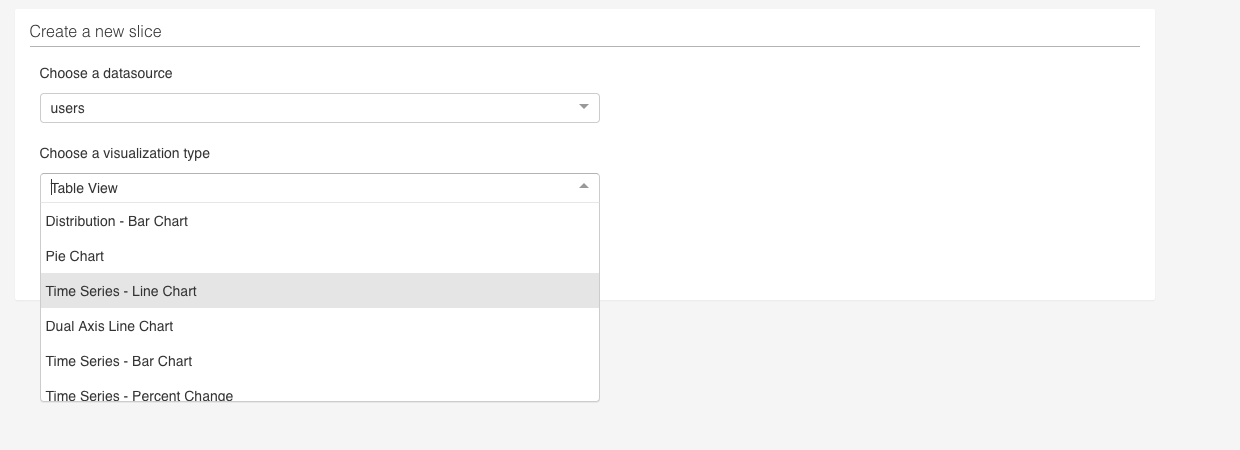
To create a new visualization (“slice”):
Navigate to the Slices page and add a “new record.”

Choose a datasource and a visualization type:
Proceed the Exploration screen to view your created slice:
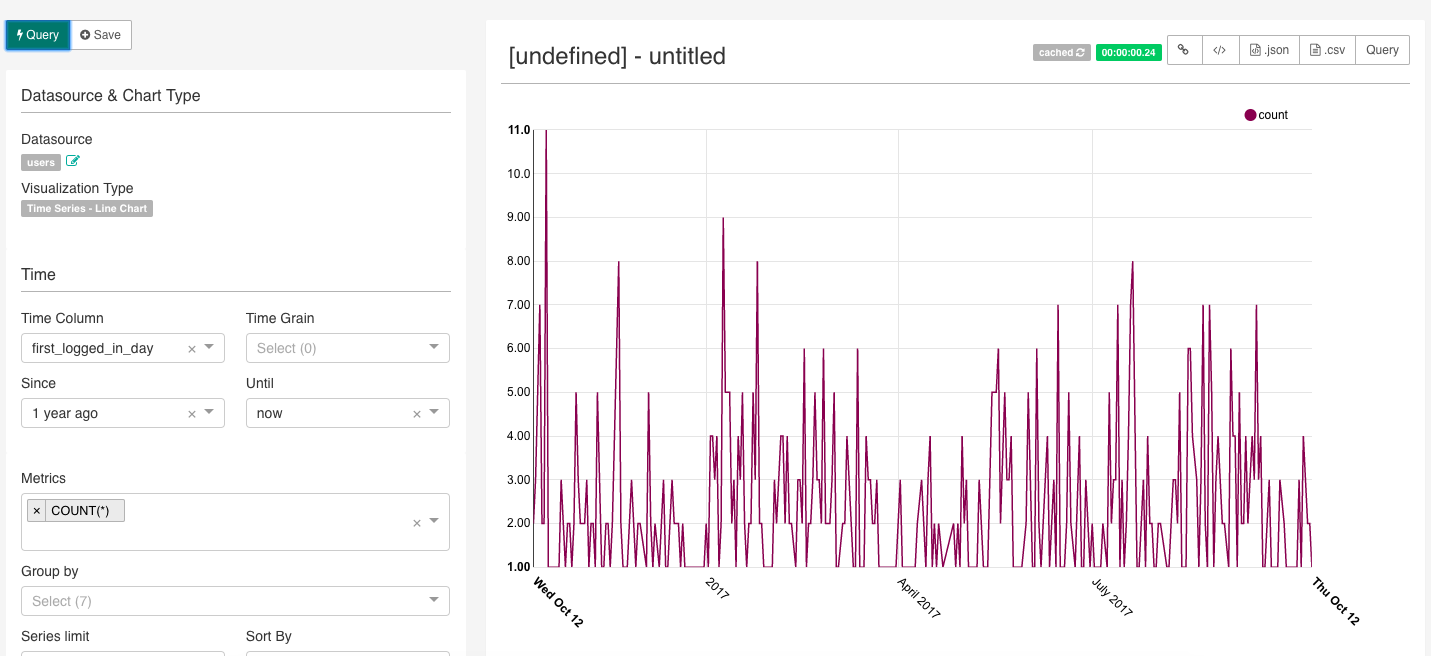
A couple of things to note:
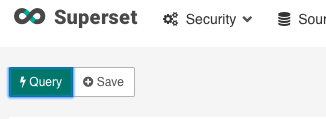
As you modify your slice, you need to click Query to see your changes reflected (unless the configuration you’re modifying is labeled with a flash sign, in which case the change takes effect immediately).
Every new slice’s title is
[undefined] - untitled. When you hover over the title, a tooltip will tell you that you don’t have the rights to alter it, but you do: simply click Save and give the slice a name: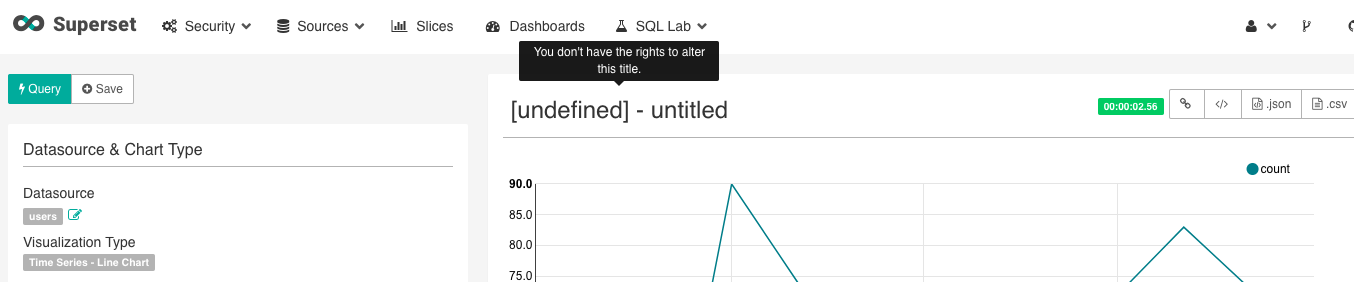
Superset’s documentation is sparse and the depth of its functionality very extensive - we recommend you play around with the different types of visualizations, Advanced Analytics and SQL features, and Filters.
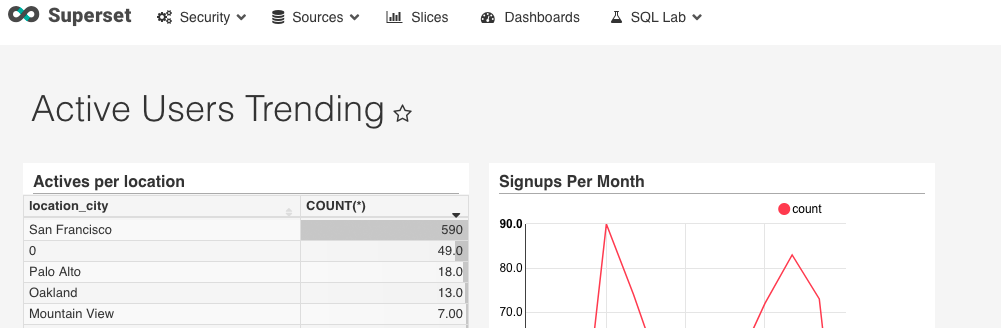
You create dashboards from the Dashboard tab, with steps similar to those for creating slices.
For additional documentation on how to explore your data and create slices and dashboards, see the official Superset documentation.
Removing the add-on
You can remove Duperset via the CLI:
This will destroy all associated data and cannot be undone!
$ heroku addons:destroy duperset
-----> Removing duperset from sharp-mountain-4005... done, v20 (free)
Support
All Duperset support and runtime issues should be submitted via one of the Heroku Support channels.